Yoga was the first thing that helped me to change my life. My practice led me to meditation, which I now dedicate 15 minutes everyday to cultivating. Yoga and meditation have been two constants that have helped me to stay sane during this self-quarantine and I am hoping that it will help you. Anytime I suggest meditation to someone, the first thing they say is I can’t meditate, my mind has too much chatter or I can’t sit for that long. Trust me, I never thought I would be able to meditate because my mind is constantly racing, but meditation was just what I needed. I had to learn to let go of expectations and judgement and this meant if my mind was quiet for 5 seconds during the 15 minutes, that’s an accomplishment. There is a reason it’s called a practice and not a perfect. Reading “How to Meditate: Secrets to the Easiest and Most Effective Meditation Technique” by Lary Terkel was one of the first steps that I took on my journey to meditation. This book is perfect for beginners and I share one of my favorite techniques with you under the pranayama section.
I also found a meditation partner, someone to hold me accountable. We agreed a couple years ago to start meditating for 15 minutes everyday and we would text one another a thumbs up when we were done. When someone is holding you accountable, you feel more compelled to make the time rather than the excuse. I don’t think I would have made meditation a daily habit if it wasn’t for my friend.
Preparing a Space
Let me just start by saying you can meditate anywhere and with nothing but yourself. The main thing is that it’s a quiet space away from interruptions where you can get comfortable. One of my favorite places to go is my local park. I grab my headphones, phone (for my meditation app or music) and a blanket, find a nice tree to sit under and meditate out in nature.
Here is a list of things that I use to help make my space a little more peaceful and help bring me into meditation mode.
- Cleanse yourself by smudging with Sage, Palo Santo or Cedar. Cedar is a little different because it doesn’t come in a stick. With Sage and Palo Santo I like to light it, by holding it under the flame for at least 20 to 30 seconds or until it lights. I start by swirling the smoke around my heart center using circular motions. I then move it up to my head, circling the smoke around my head and then down the entire length of my body, front and back. I allow the smoke to surround these areas all while maintaining the intention that I am cleansing any and all negativity from my body and replacing it with love, light and peace. The most important thing with smudging is just the intention.
- Light candles
- Apply or Diffuse Essential Oils
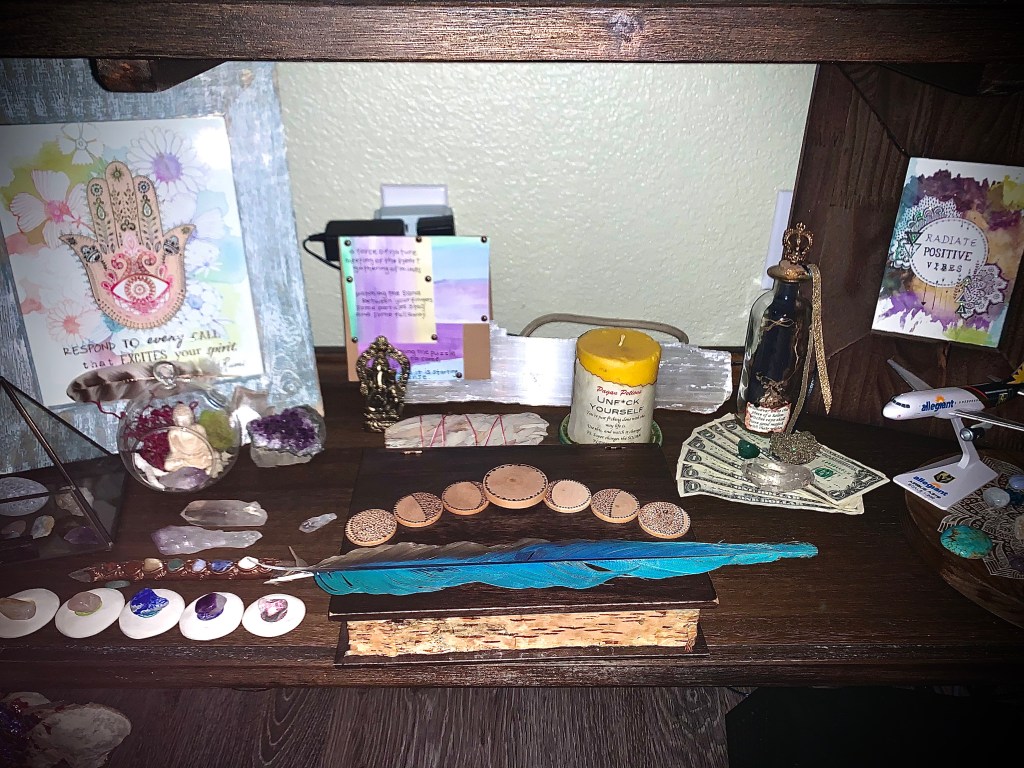
- Build an alter with some of your favorite photos, crystals and symbols of what you are manifesting in your life. Below is a picture of my altar on the bottom shelf of my book case to give you some inspiration on what to include.
- Have a cushion or blanket to place under your sacrum and help you get more comfortable.
- Crystals
- Clear Quartz
- Amethyst
- Black Tourmaline
- Rose Quartz
- Selentite
Different people and different books will recommend contradictory stones and essential oils to use for various things. I’ve listed above some of my personal favorites but this doesn’t mean they are the best ones for everyone. When it comes to crystals and oils, much of choosing the right one is intuition. You can walk into a crystal store and one stone will just speak to you, you will be drawn to it for no explainable reason. The same can happen with oils. You just always find yourself gravitating to a certain scent, but it’s probably because that is what your body needs at this moment. If you have a crystal or oil at home that you love, meditate with it. There really are no rules.
Yoga
Fun Fact: Yoga was created to help people condition their bodies to be able to sit through meditation. So the ultimate goal of yoga is not about handstands and scorpion pose, but rather meditation. Quieting the mind and bringing stillness to the body. For this blog post I will switch things up share the yoga poses first and then my favorite pranayama method for silencing my internal dialog since this is the order you will use them.
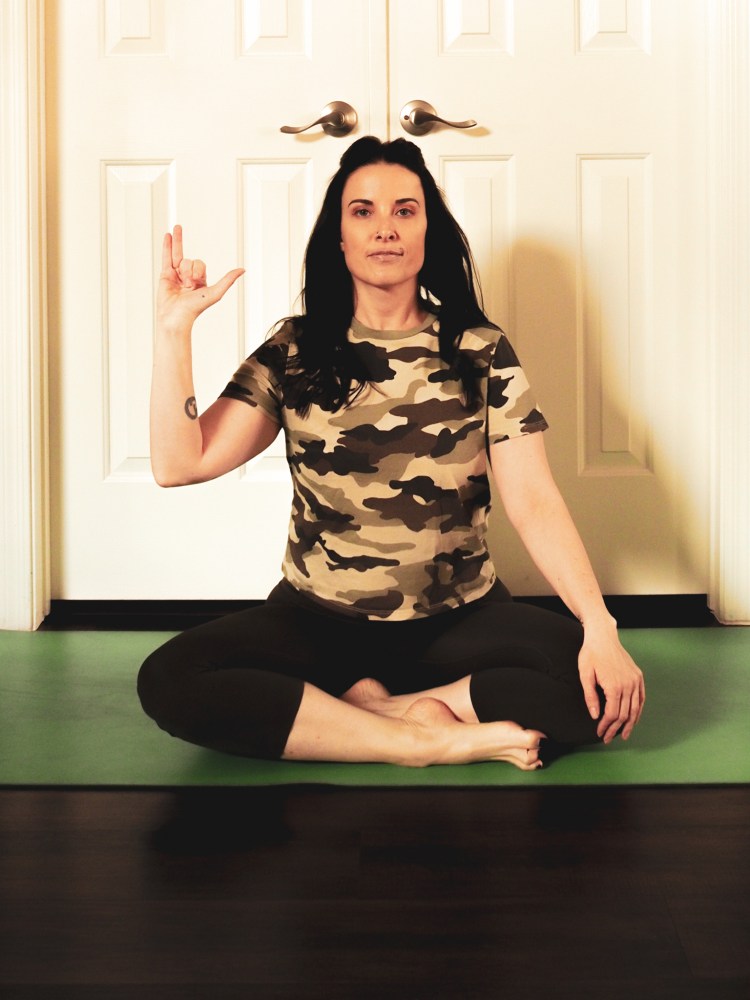
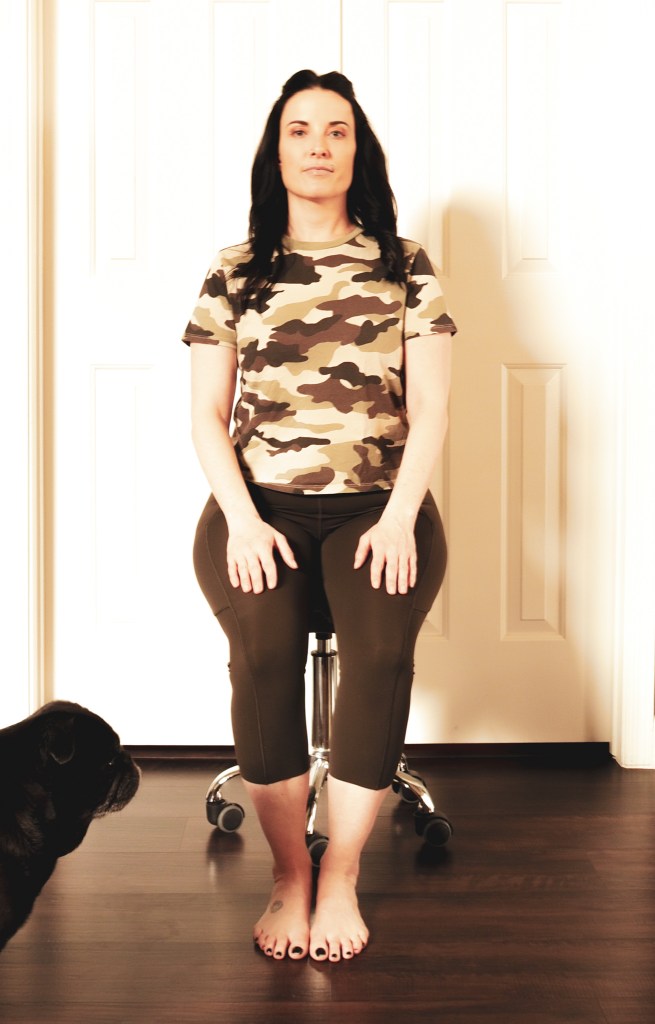
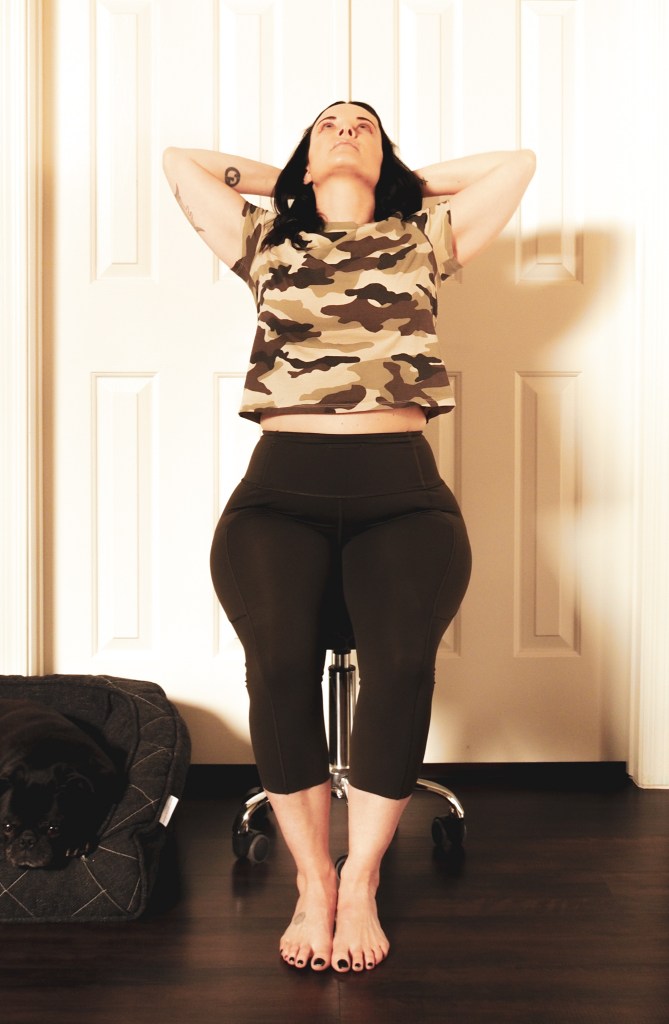
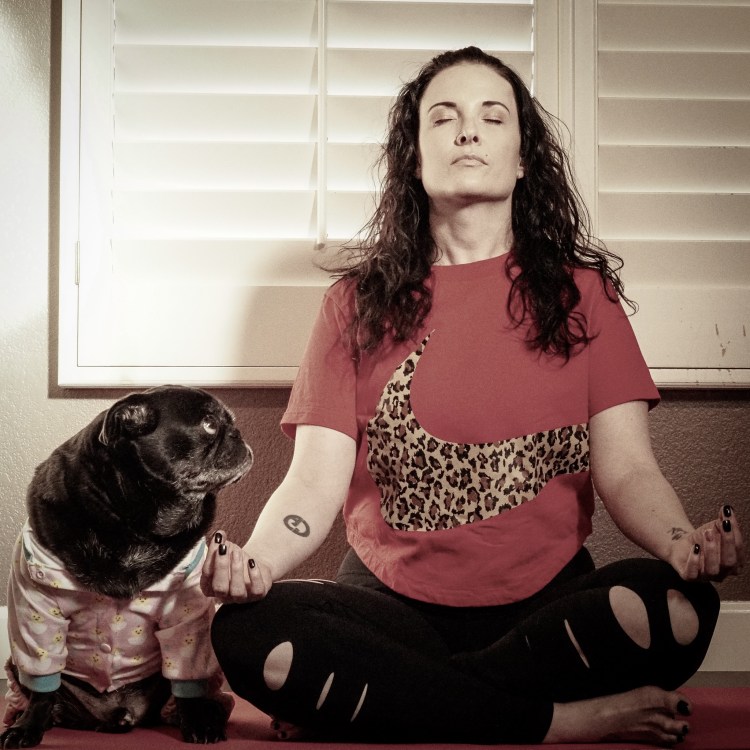
Easy Seated (Sukhasana) is a simple cross-legged sitting position. For those new to yoga and new to meditation this is a great pose to start with.
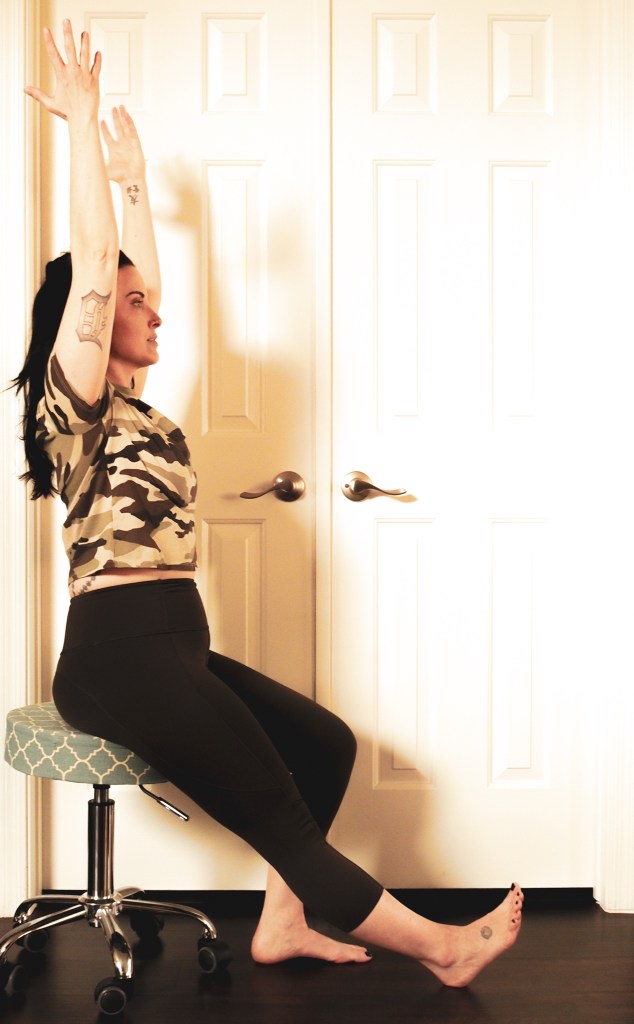
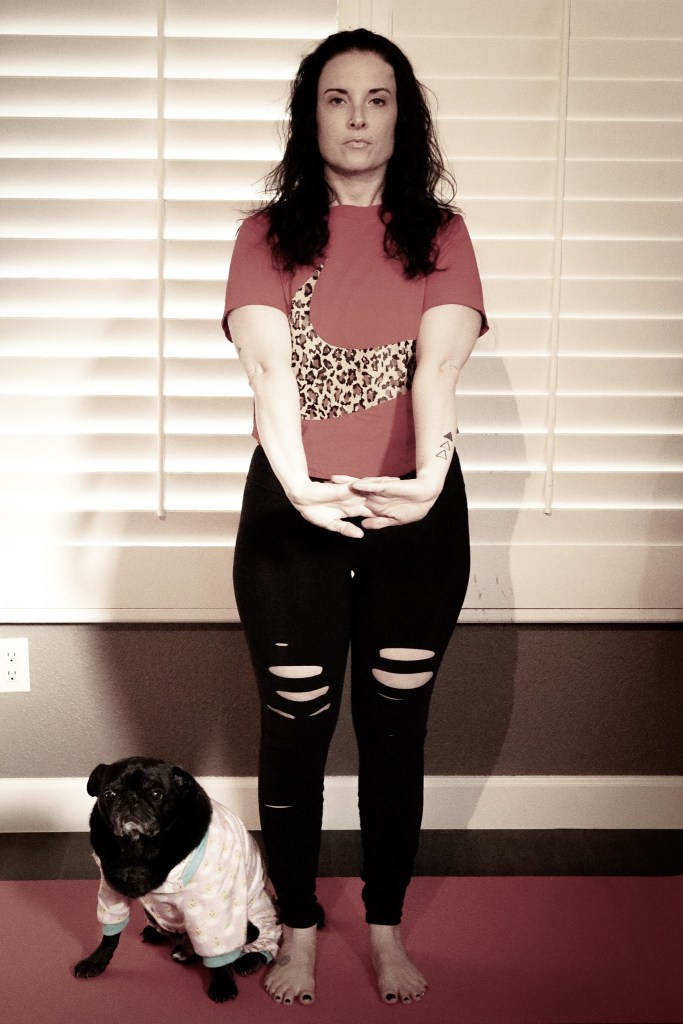
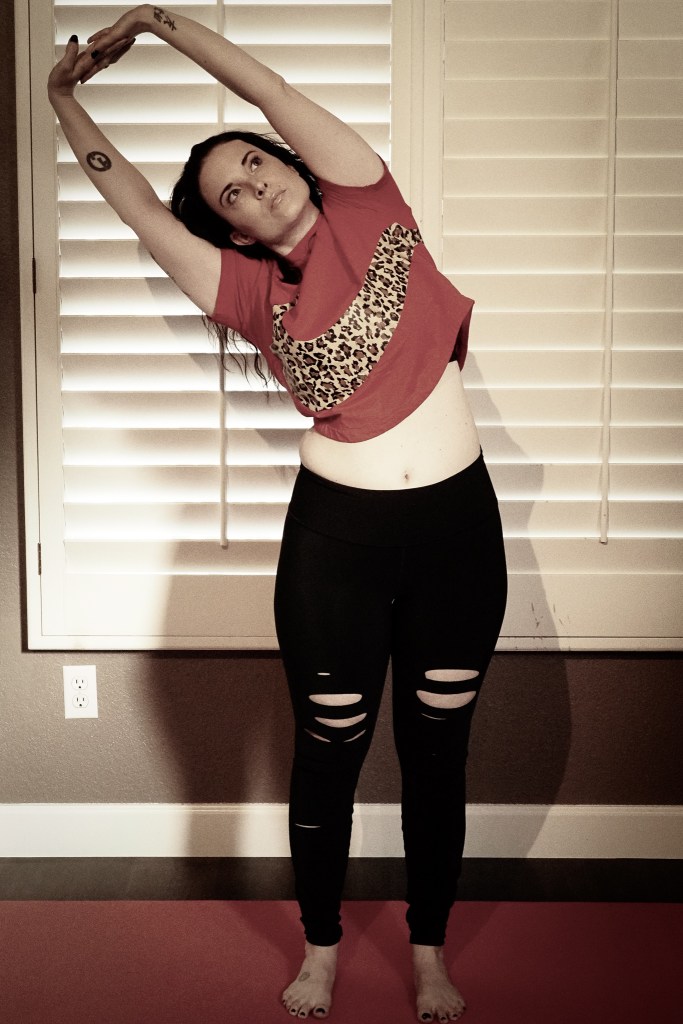
- Sit on the ground with the legs extended out in front of you in Staff Pose (Dandasana).
- Sit up nice and tall, letting the crown of the head press up toward the ceiling.
- Arms at your sides, shoulders relaxed and away from the ears (Image 1).
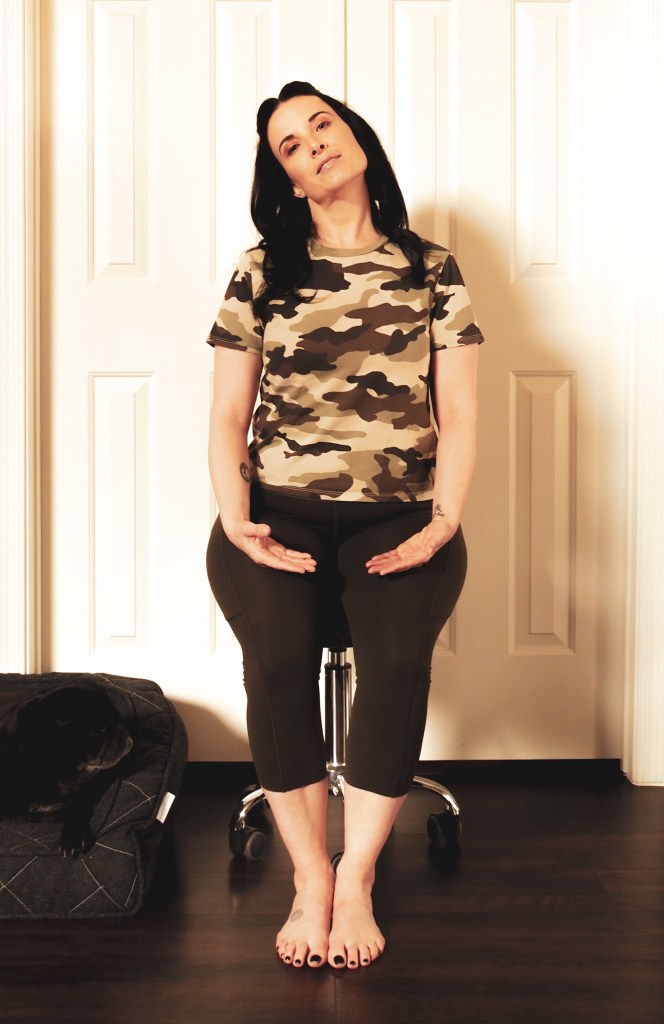
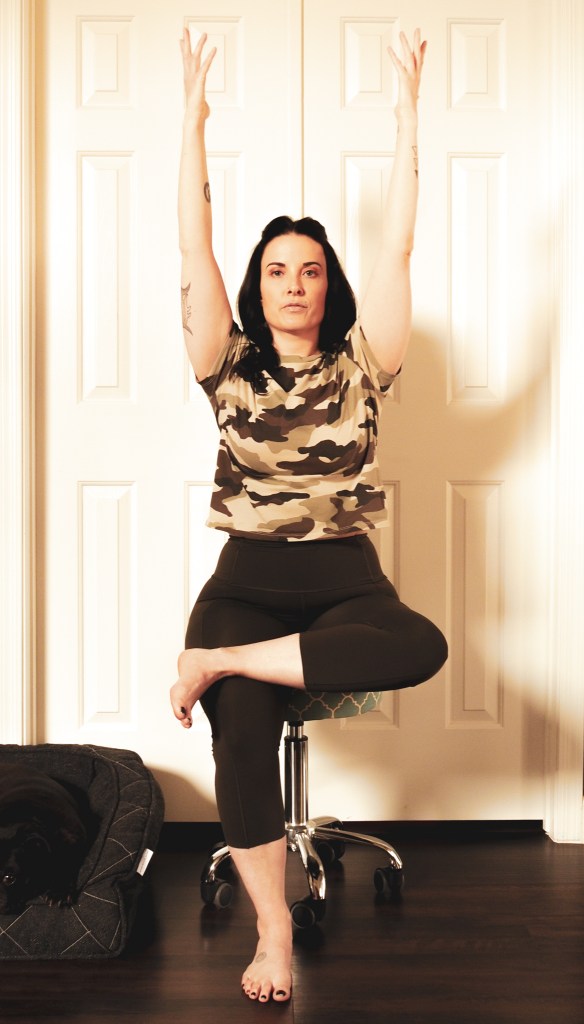
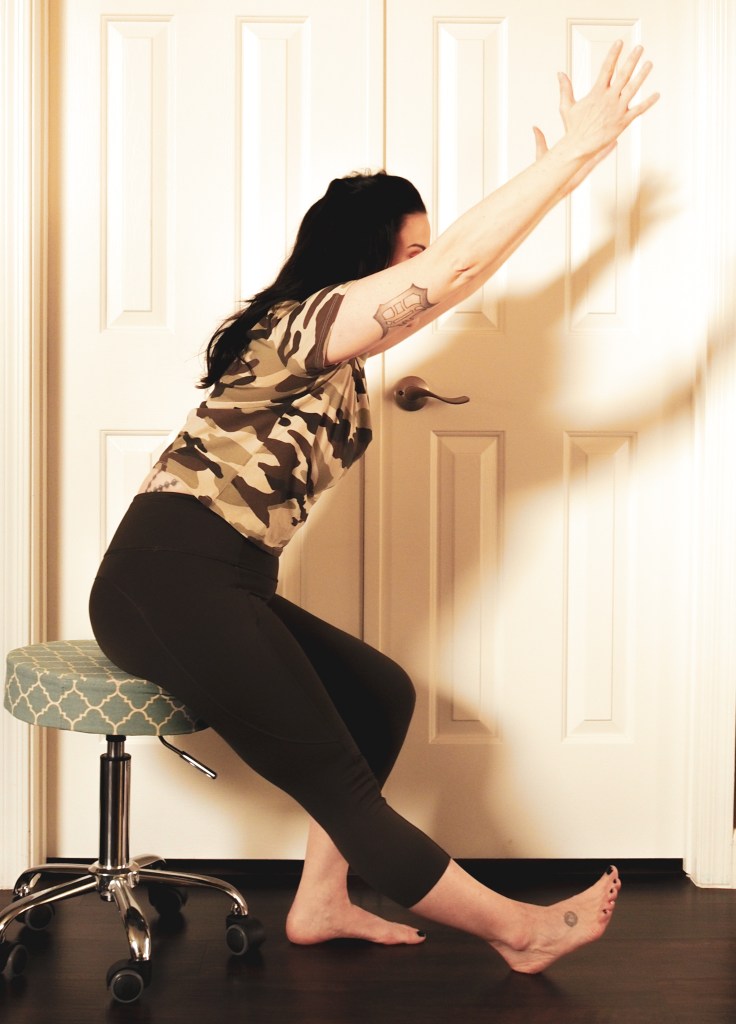
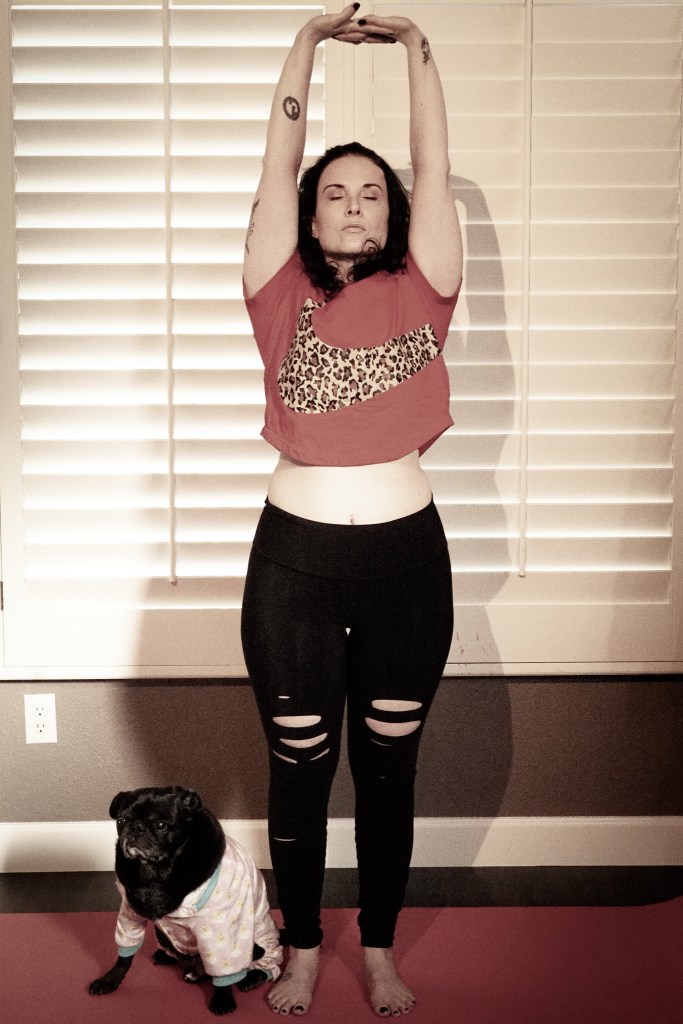
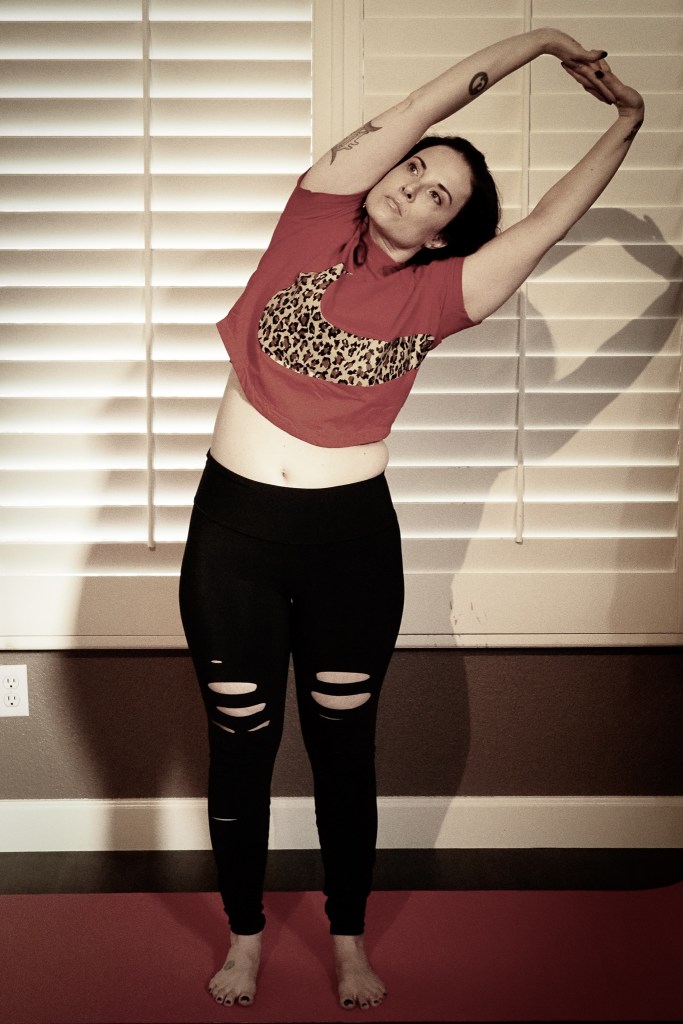
- Bend the left leg, placing the soul of the foot along the inner thigh of the right leg (Image 2).
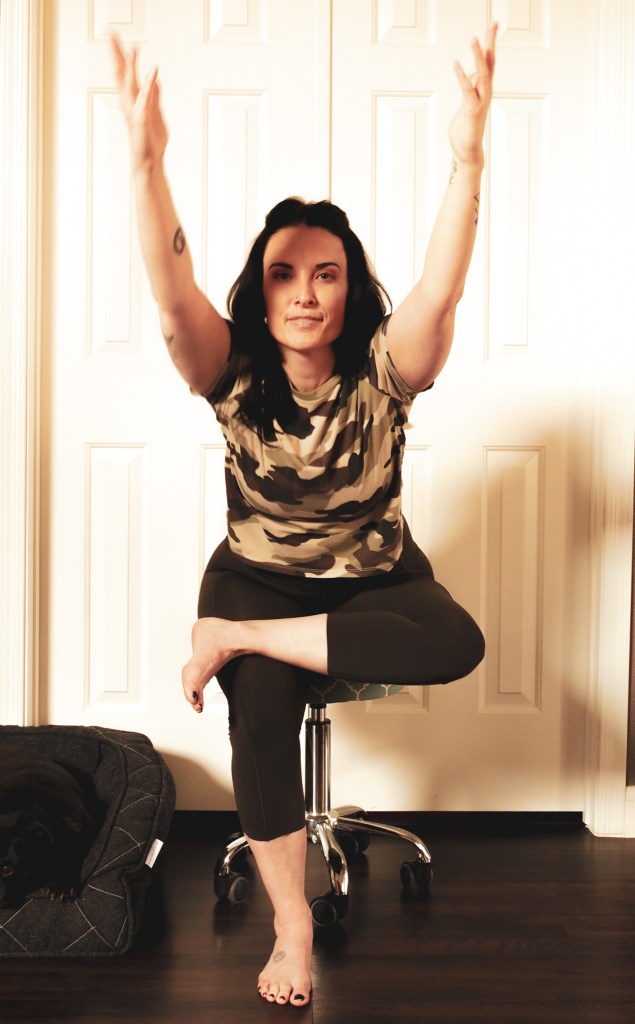
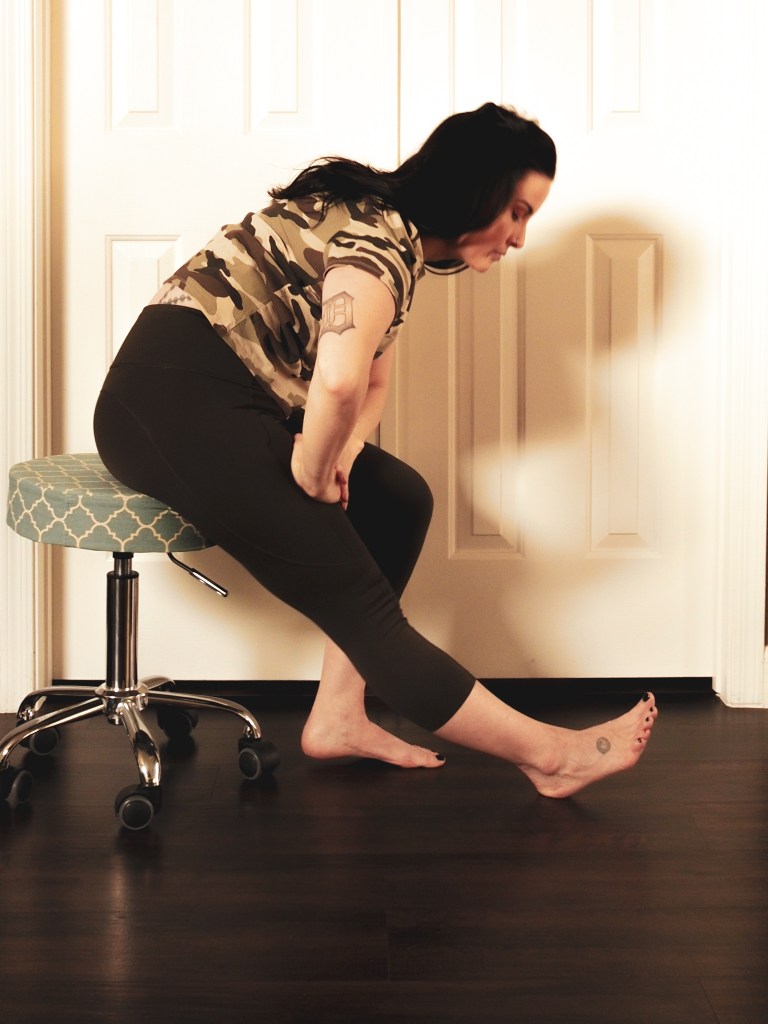
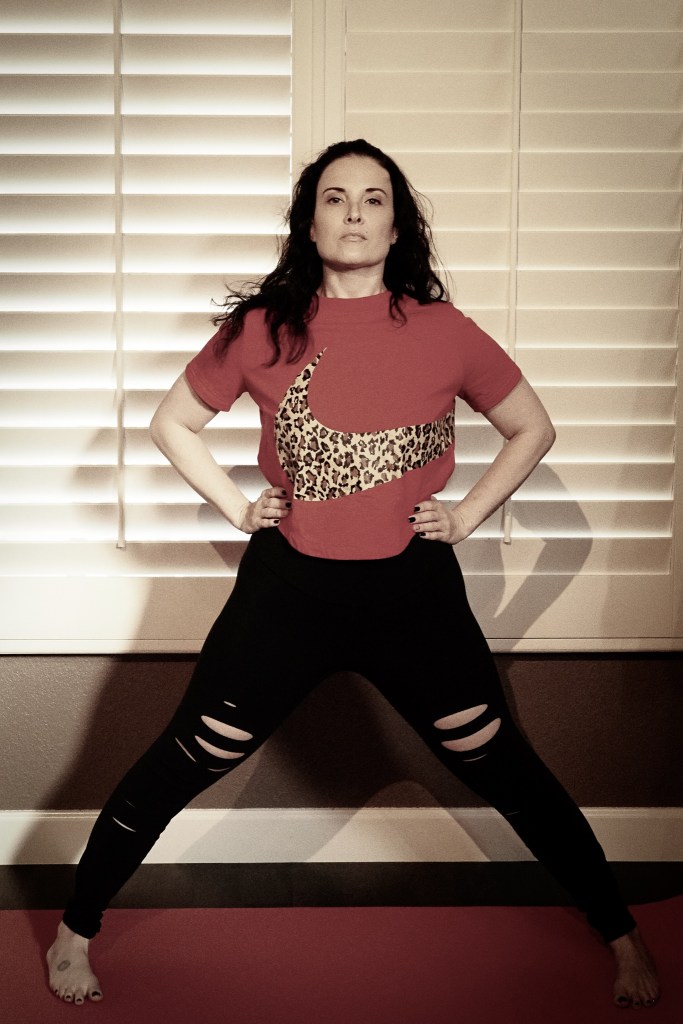
- Bend the right leg and bring the foot up and let it rest in front of the left shin.
- The left foot should be tucked into the crook of the right knee (Image 3).
- You can place a folded blanket under your sit bones to elevate your torso.

Image 1 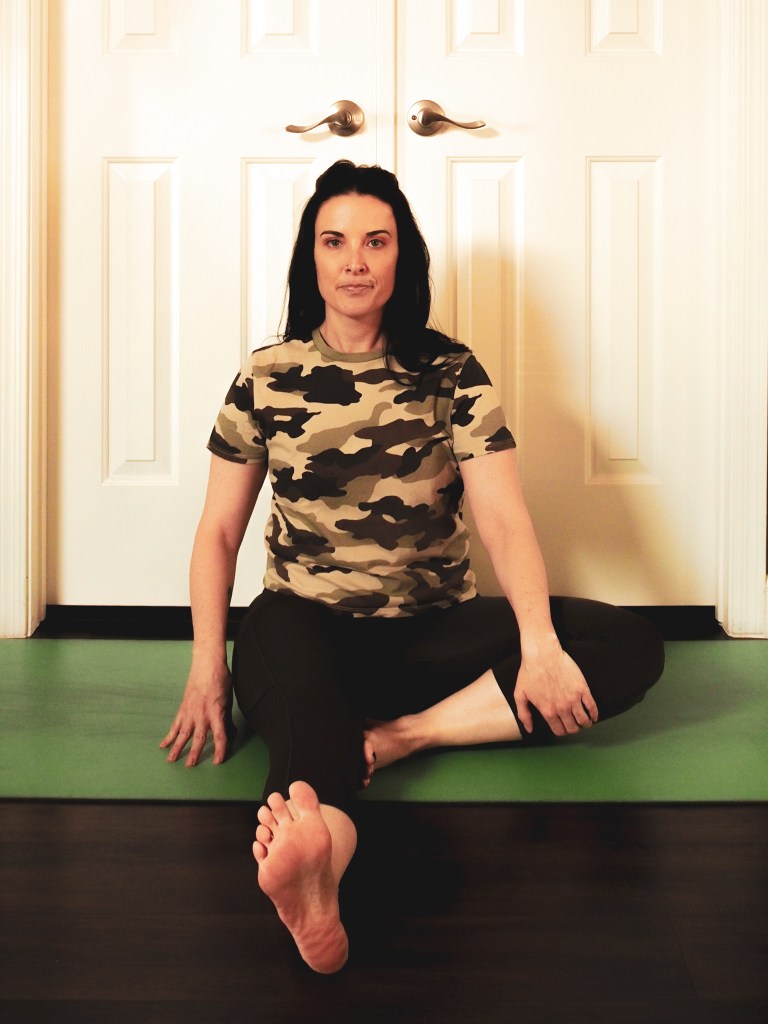
Image 2 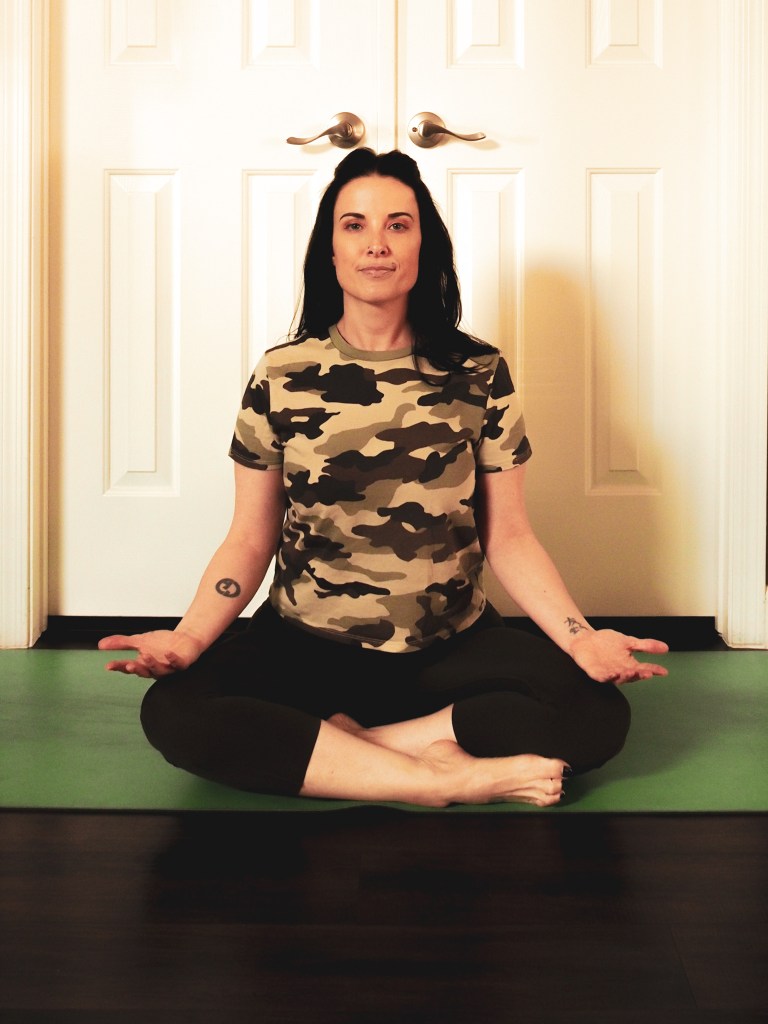
Image 3
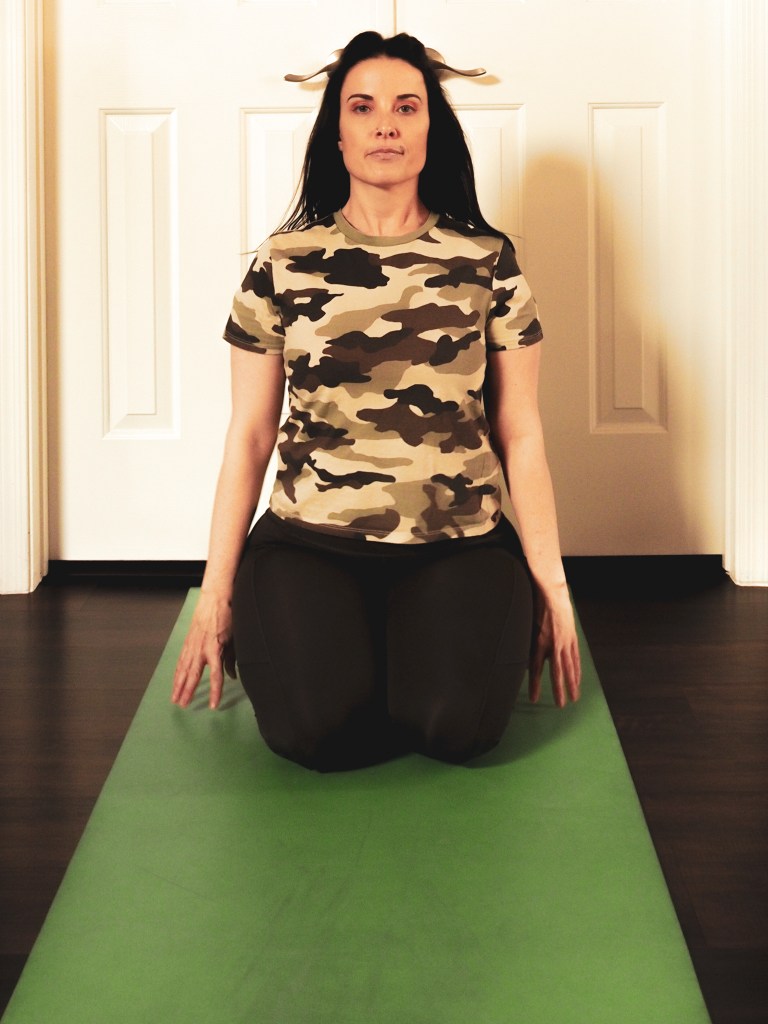
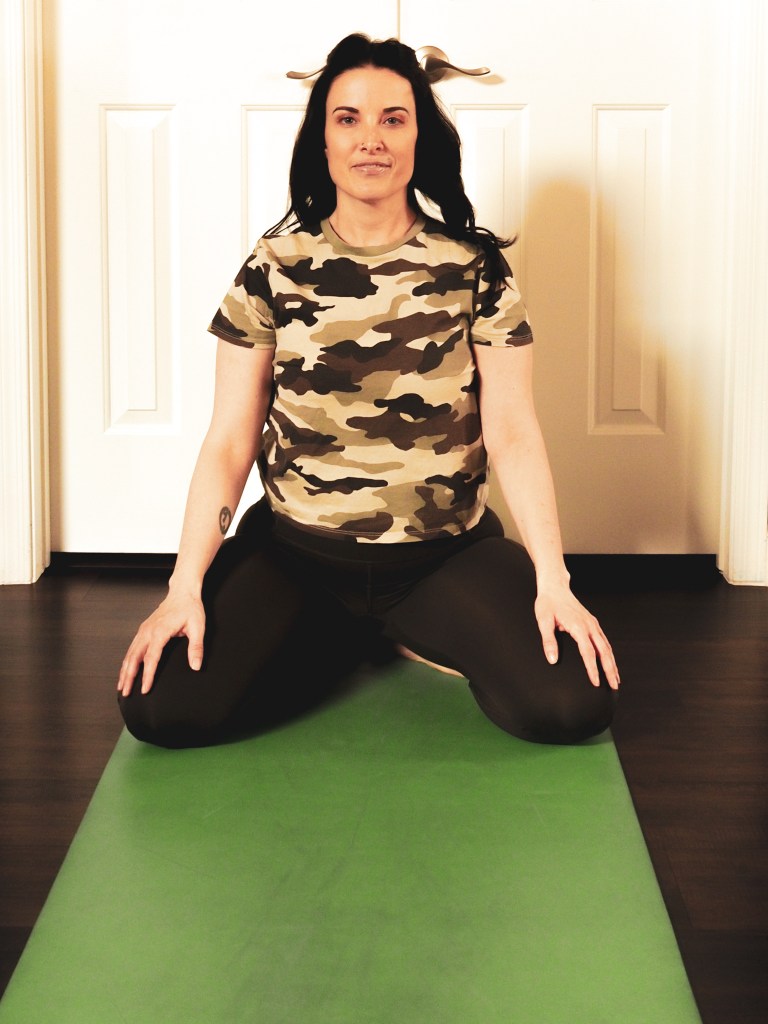
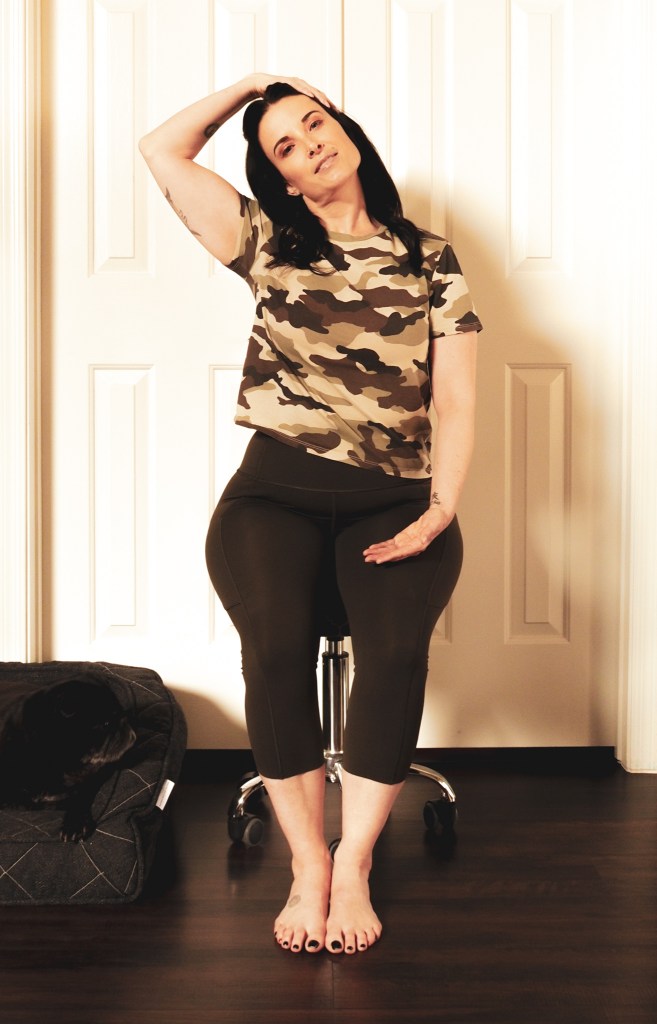
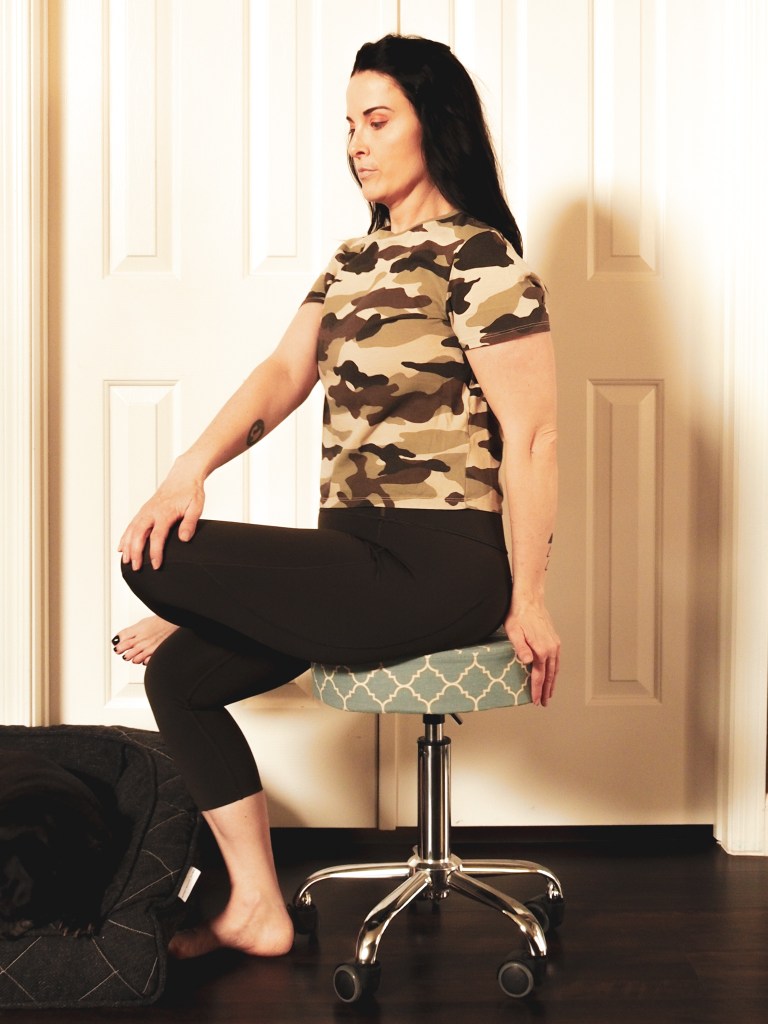
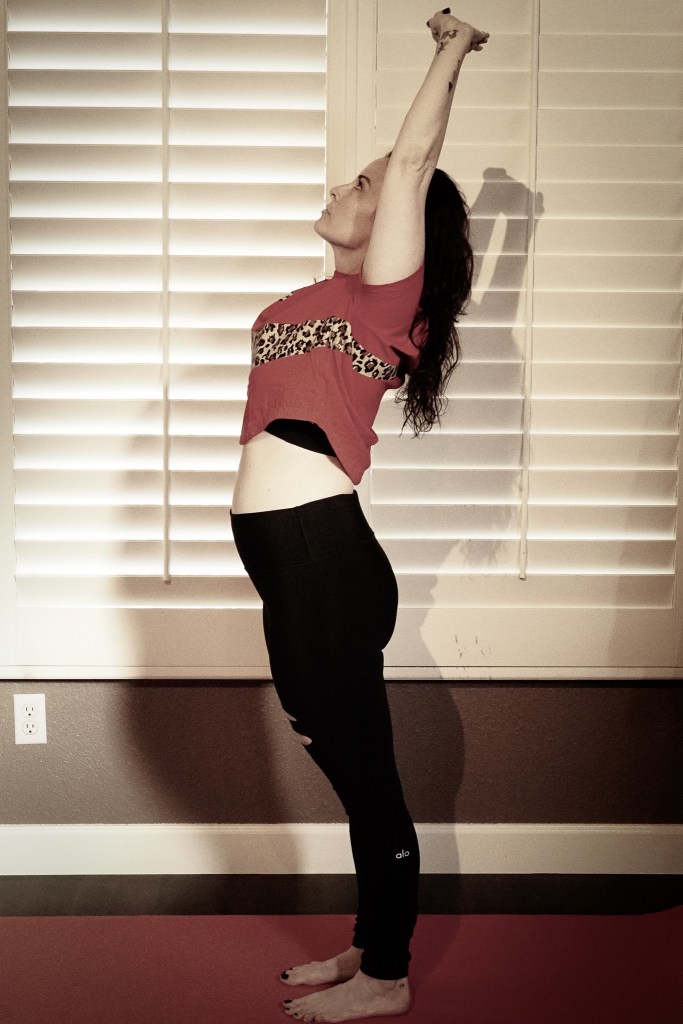
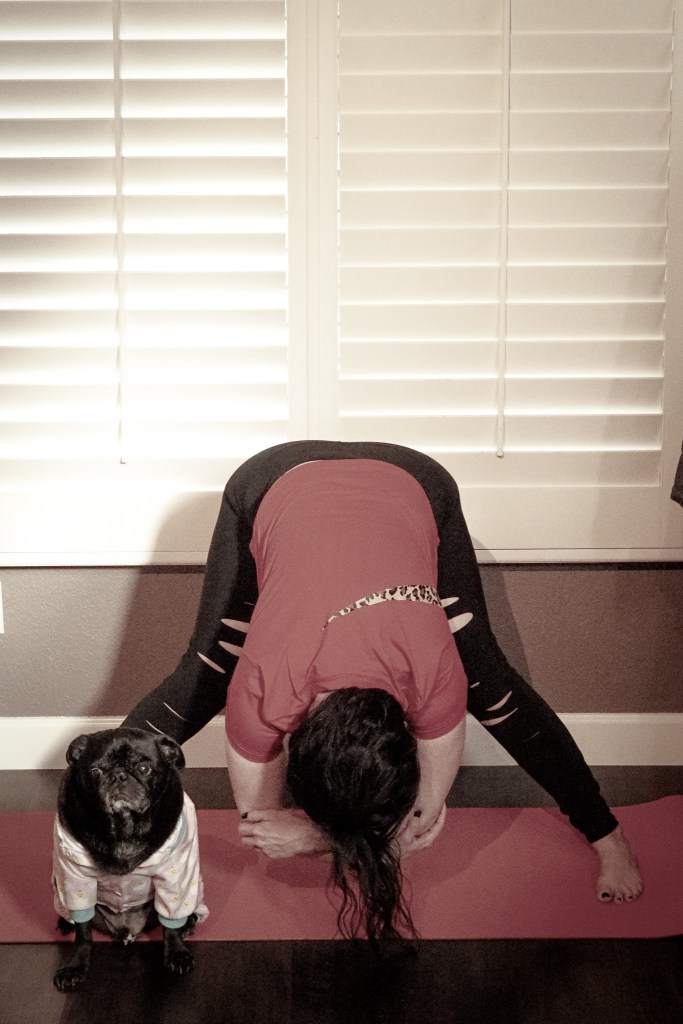
Hero Pose (Virasana) is great pose for meditation that also offers the benefit of stretching the feet, ankles, quads and hips. This may not be comfortable for people with knee or ankle injuries and should be approached with caution.
Thunderbolt (Vajrasana) is a variation of Hero Pose where you sit back on your heels instead of between them. You can play around with both poses and see which one feels best for you.
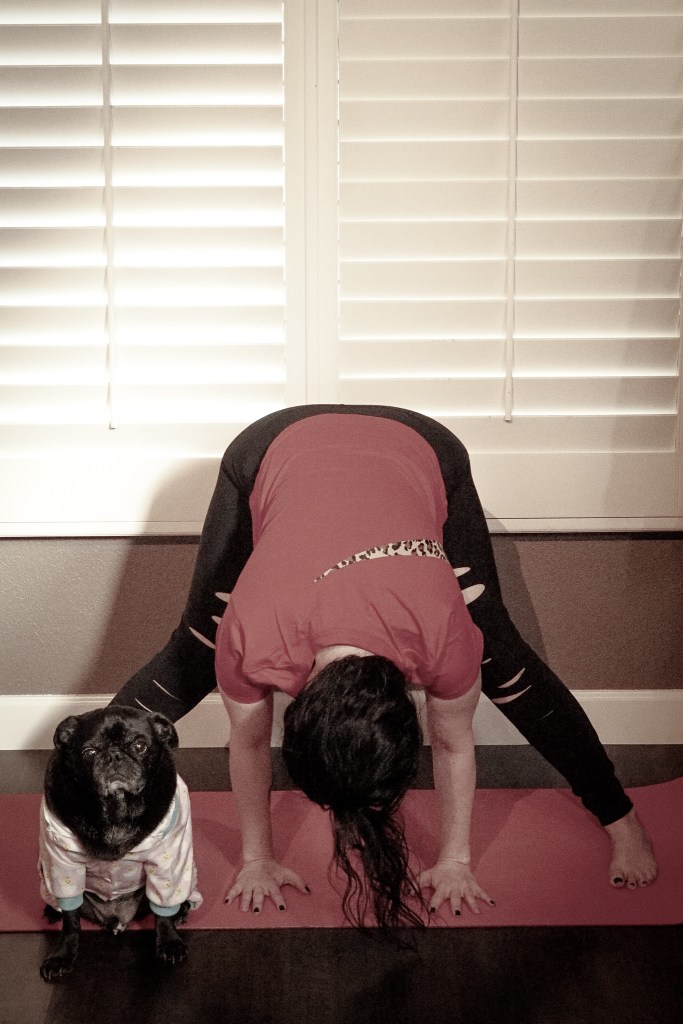
- Start by kneeling with the toes untucked and the hips over the knees (Image 4).
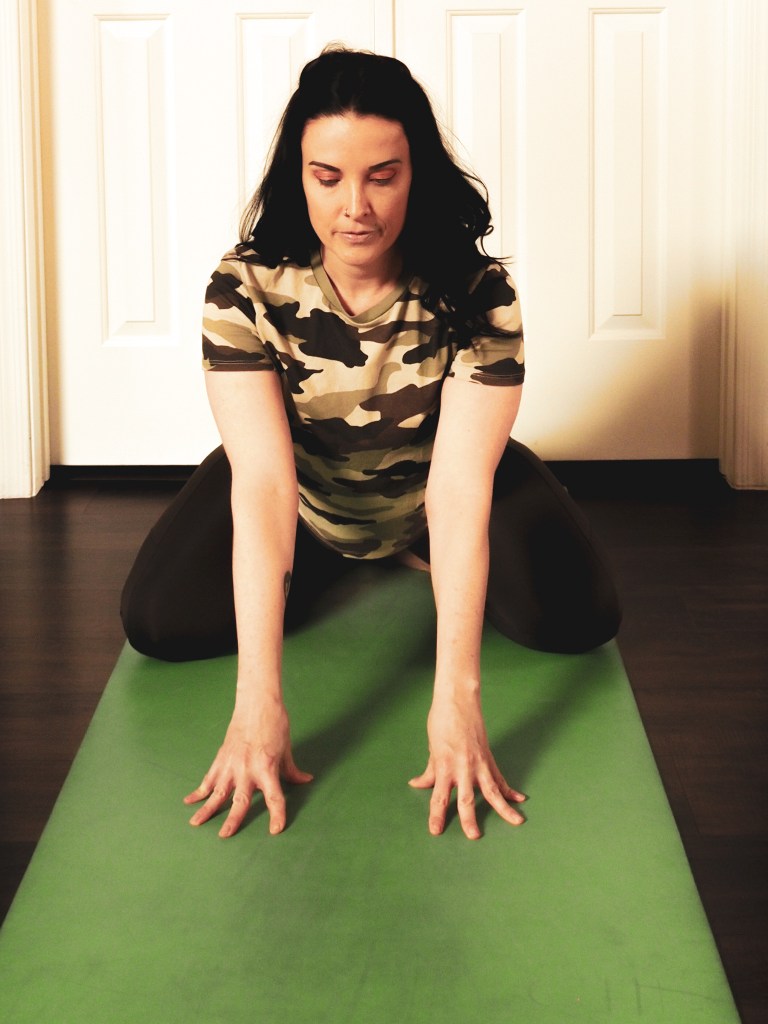
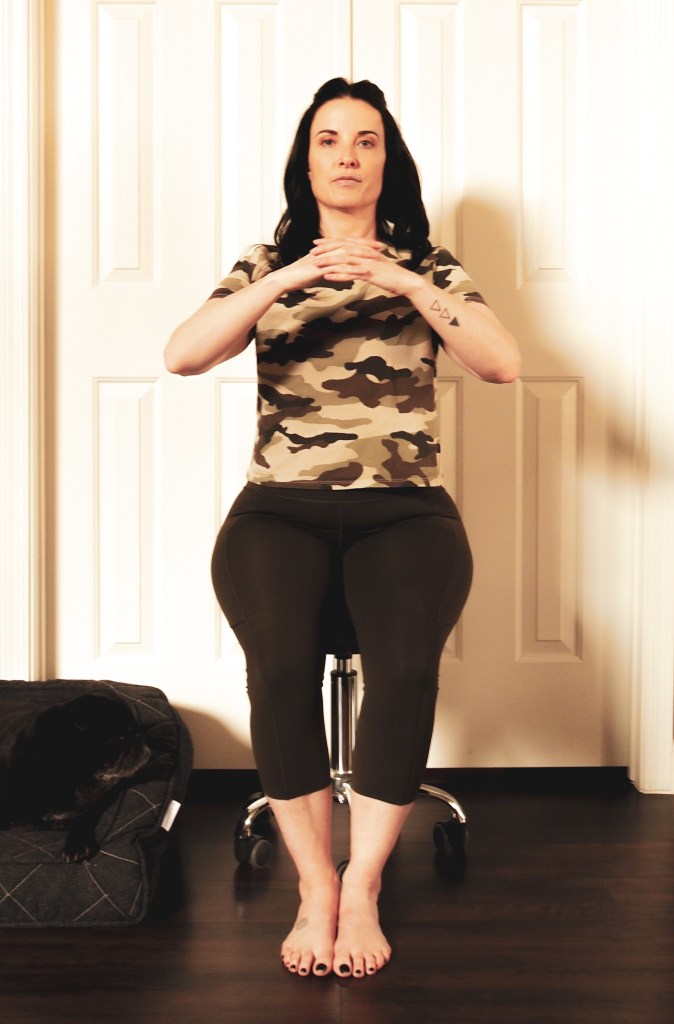
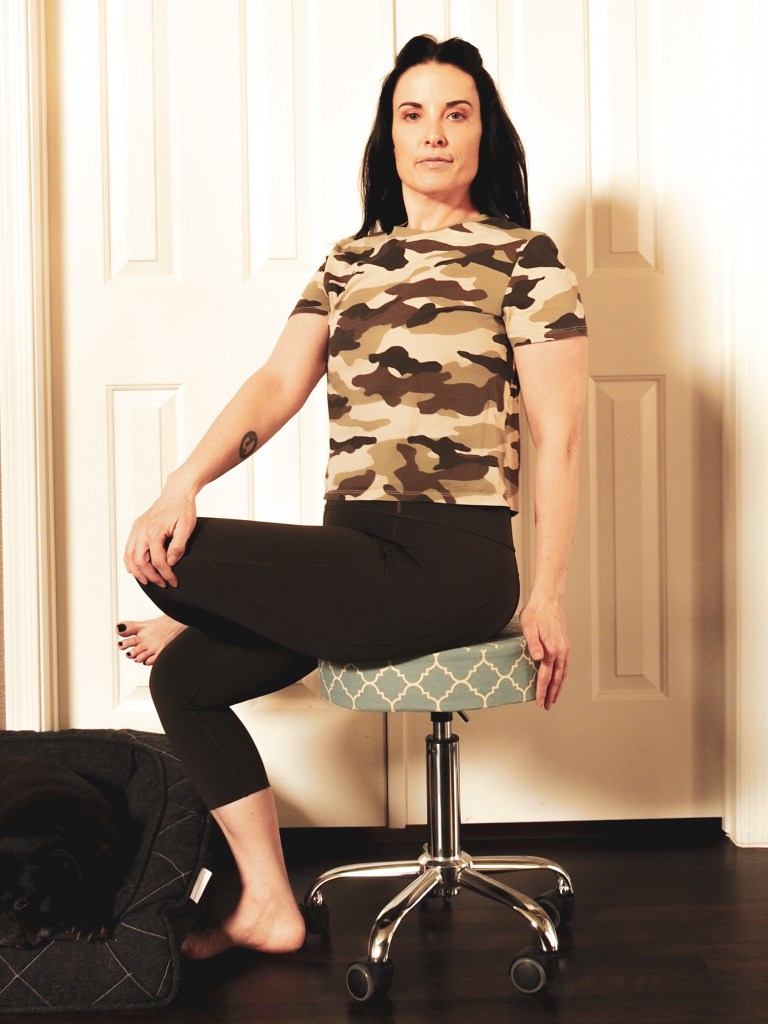
- Keep the knees together and take the feet just wider than hip distance apart (Image 5).
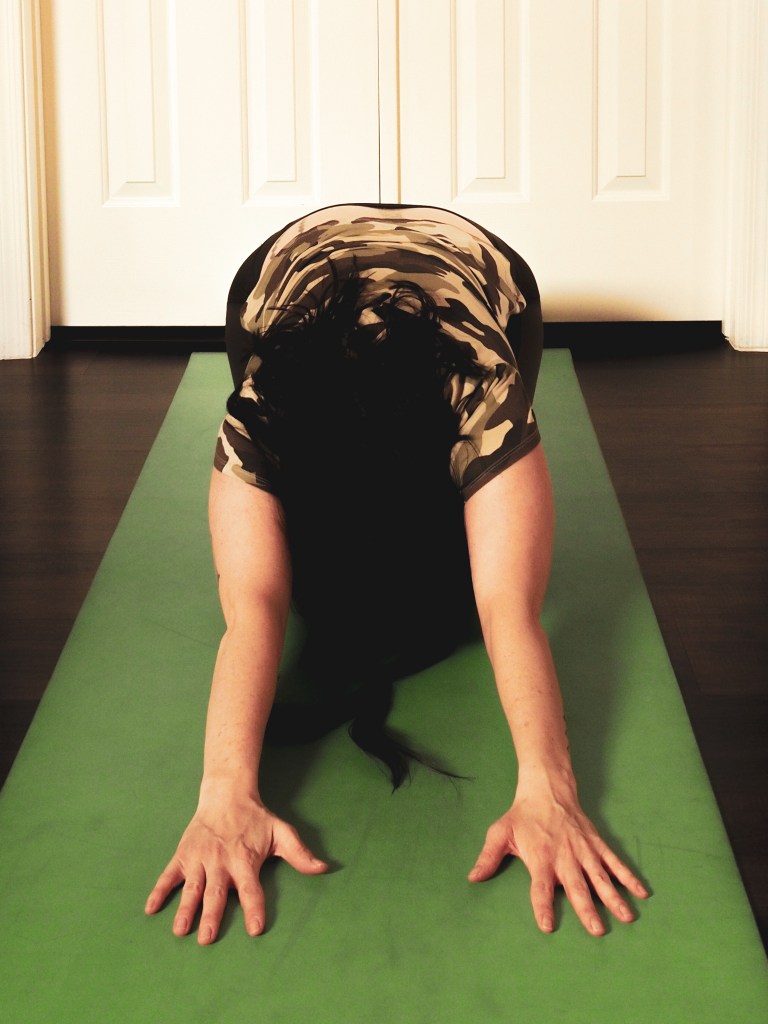
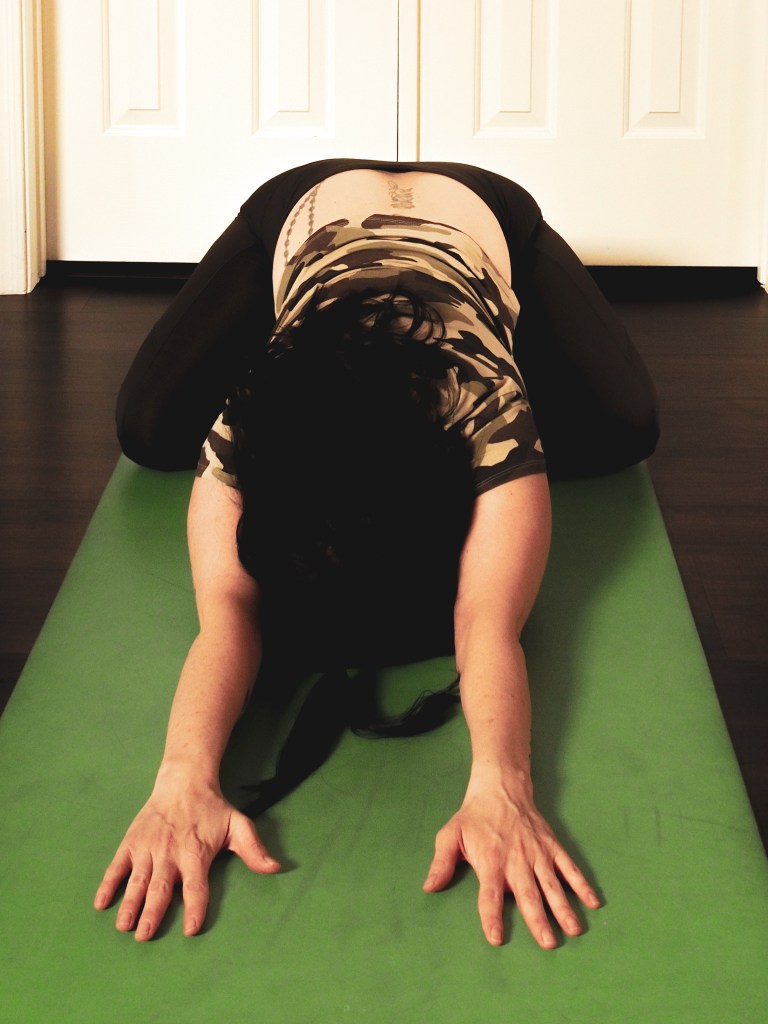
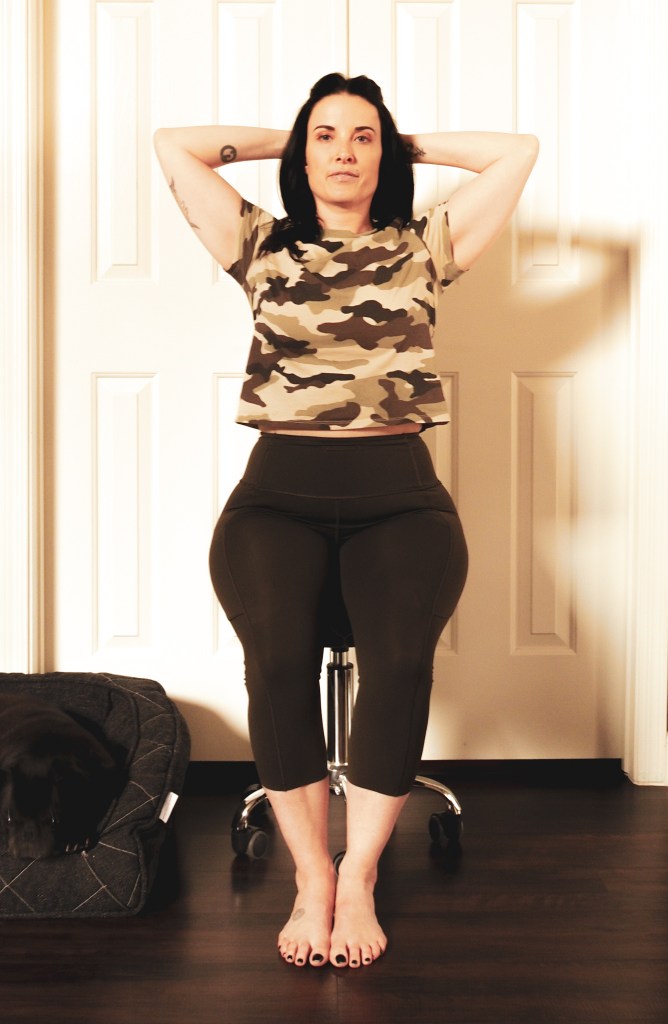
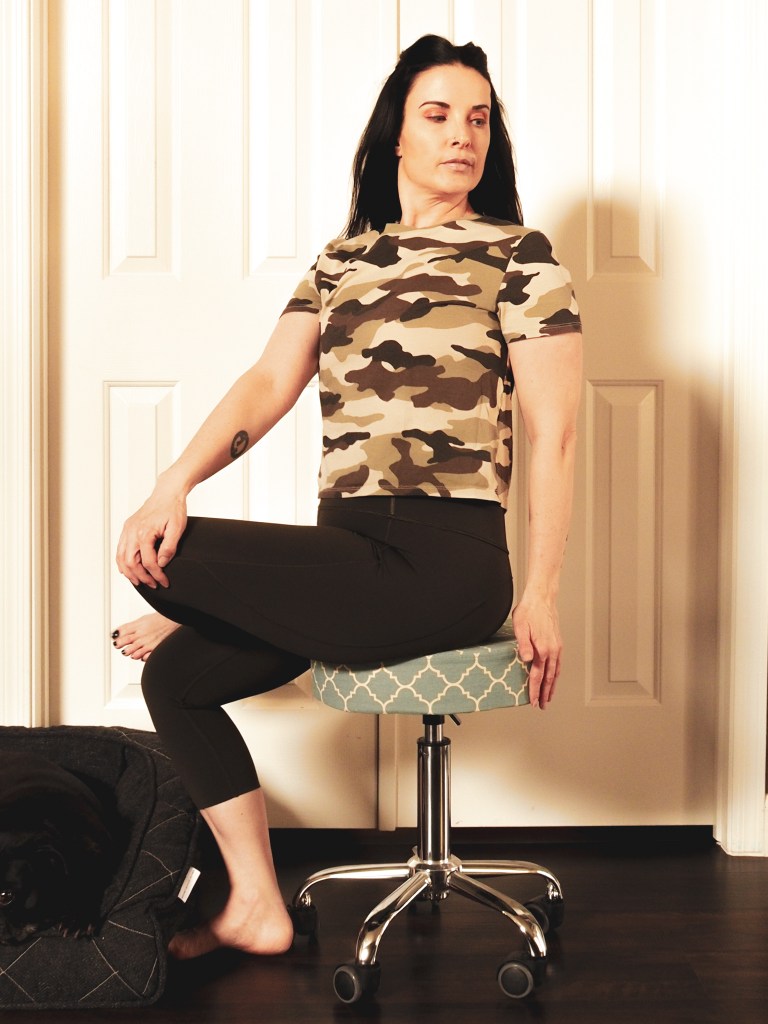
- Lower the seat down, sitting back on the mat with the feet along side by your hips (Image 7).
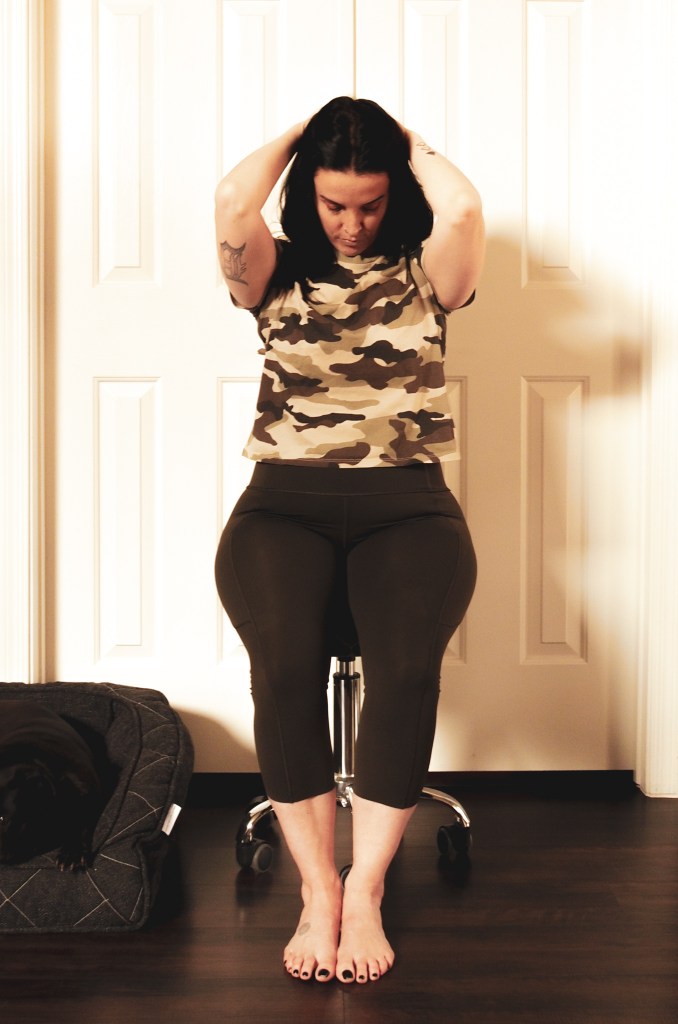
- If your seat doesn’t comfortably reach the mat, place a block or rolled blanket between your feet before you lower down (Image 6).
- If you experience any pain in the ankles, place a rolled blanket under them before lowering down.
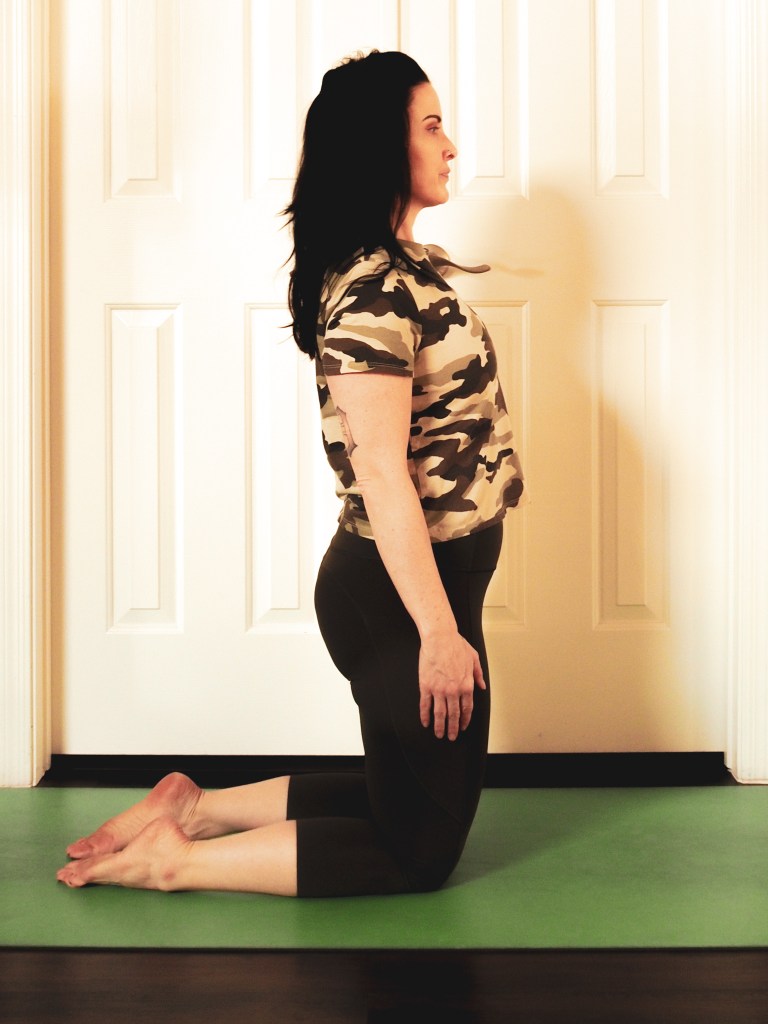
Image 4 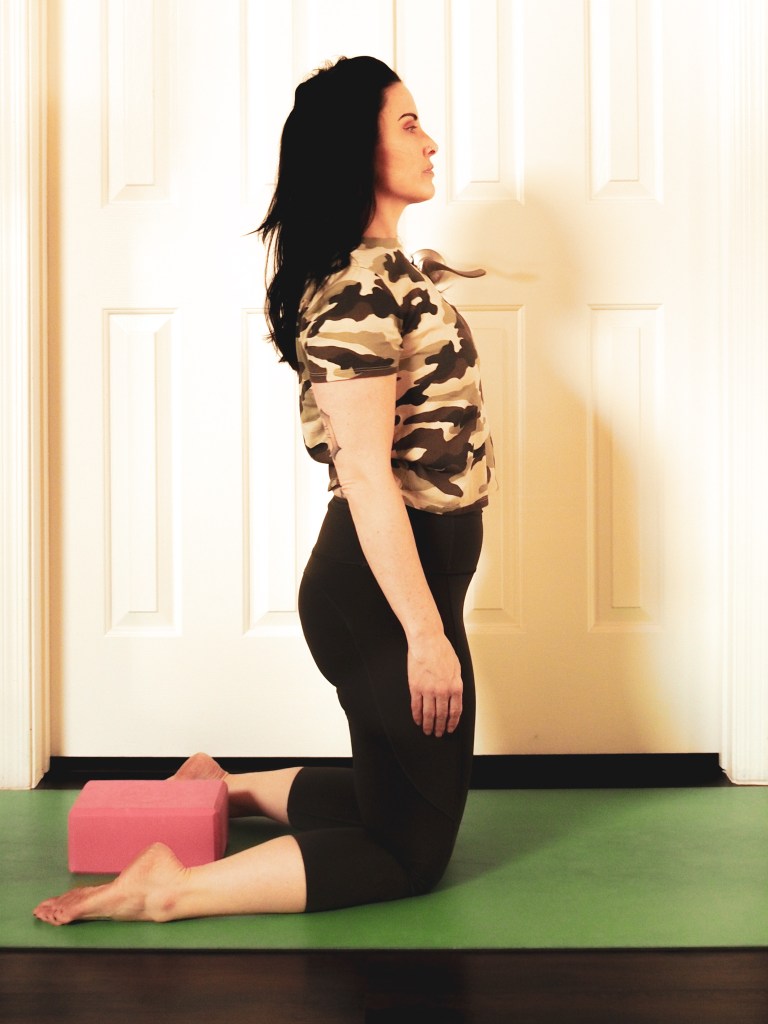
Image 5 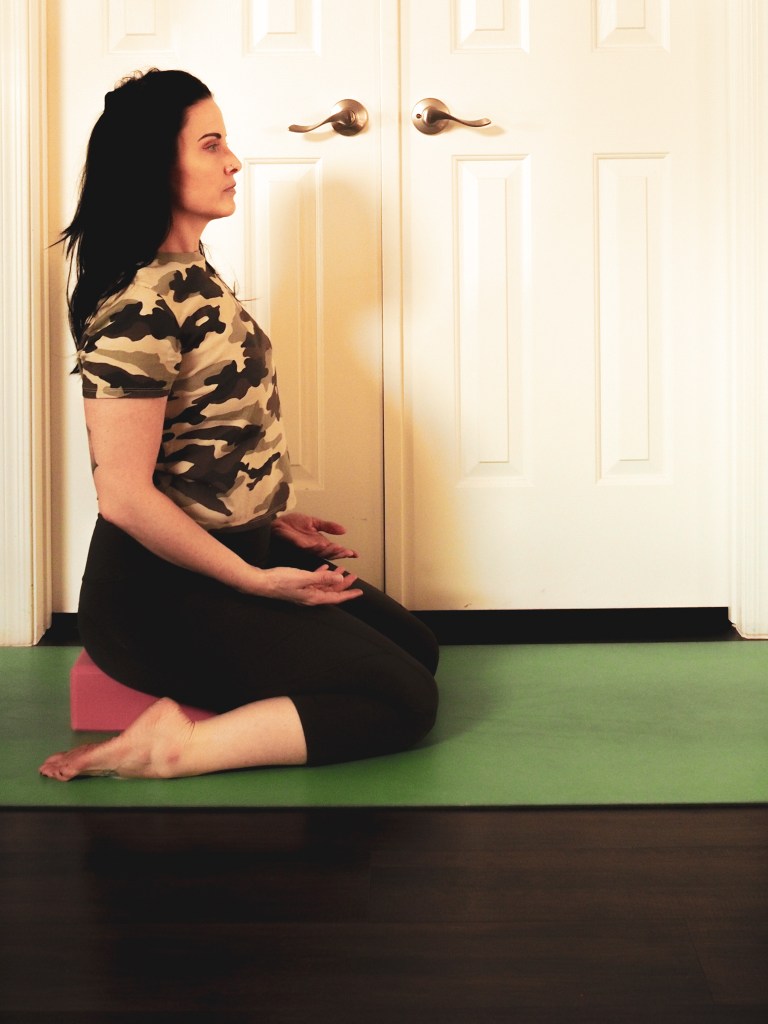
Image 6 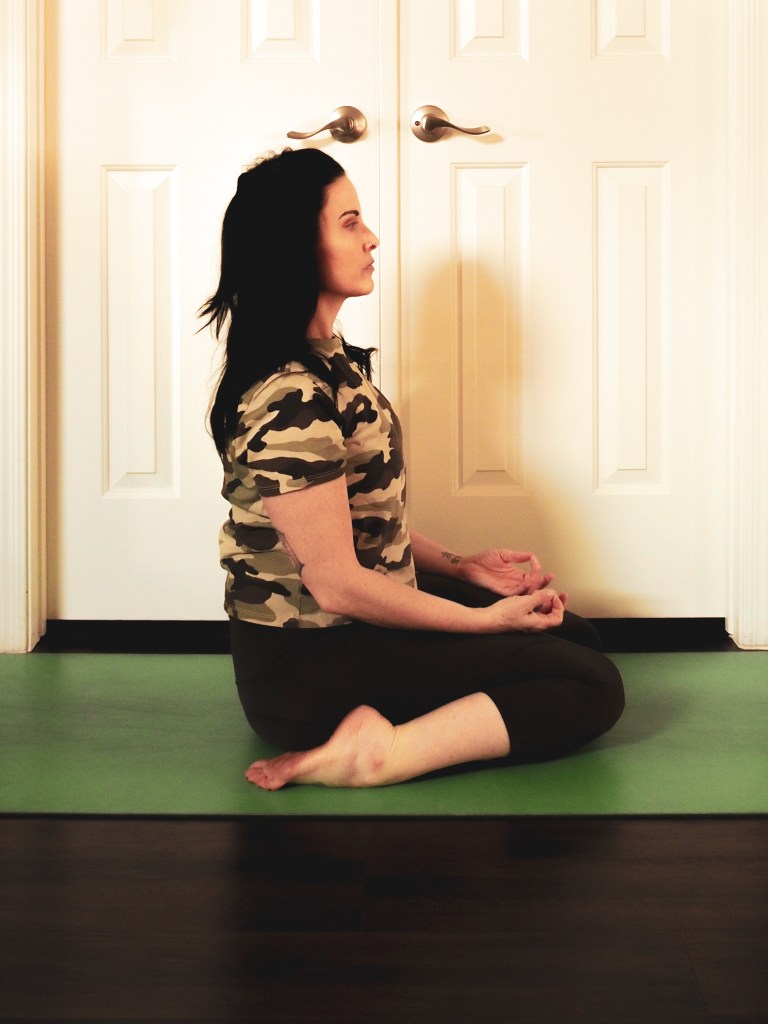
Image 7
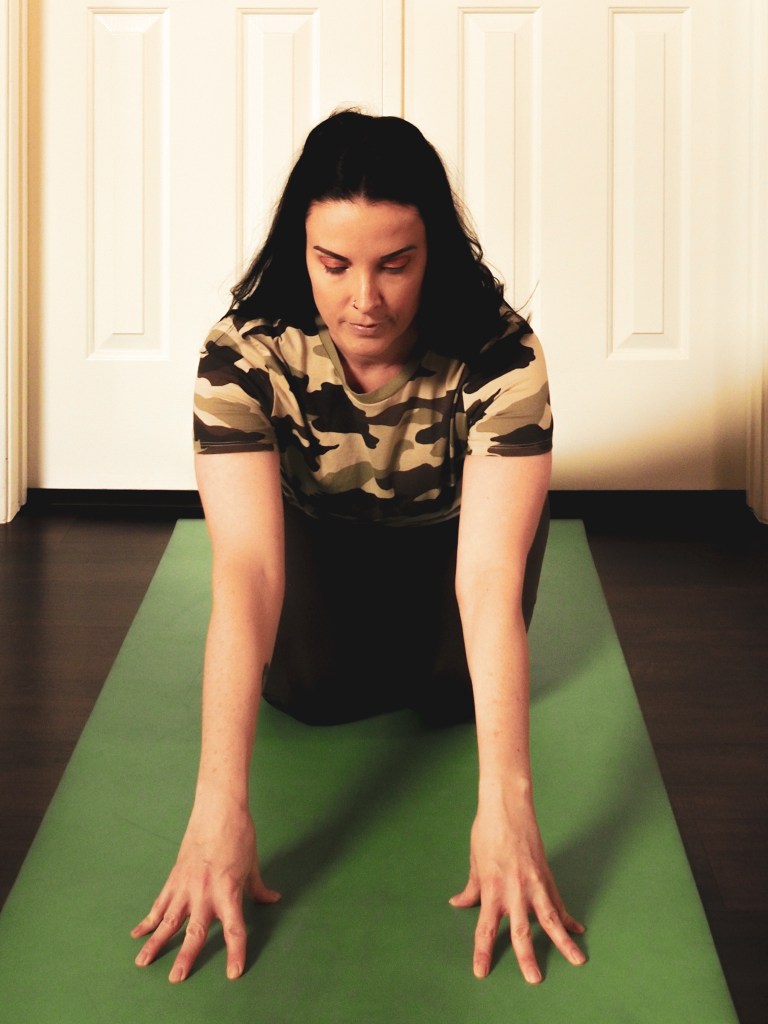
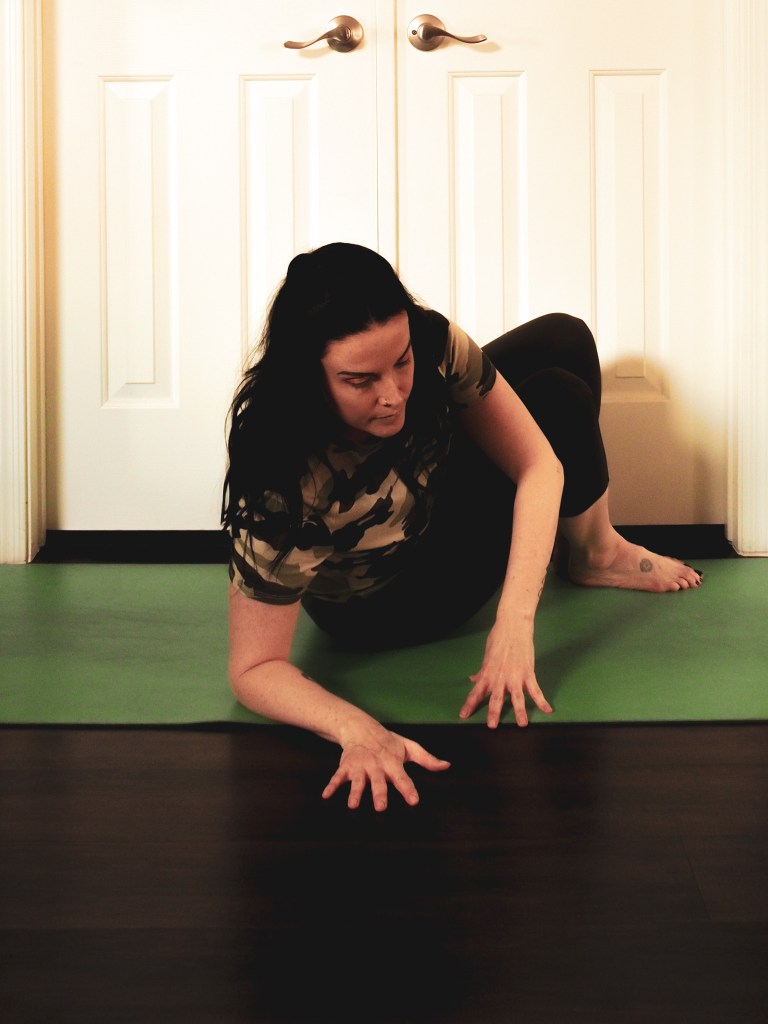
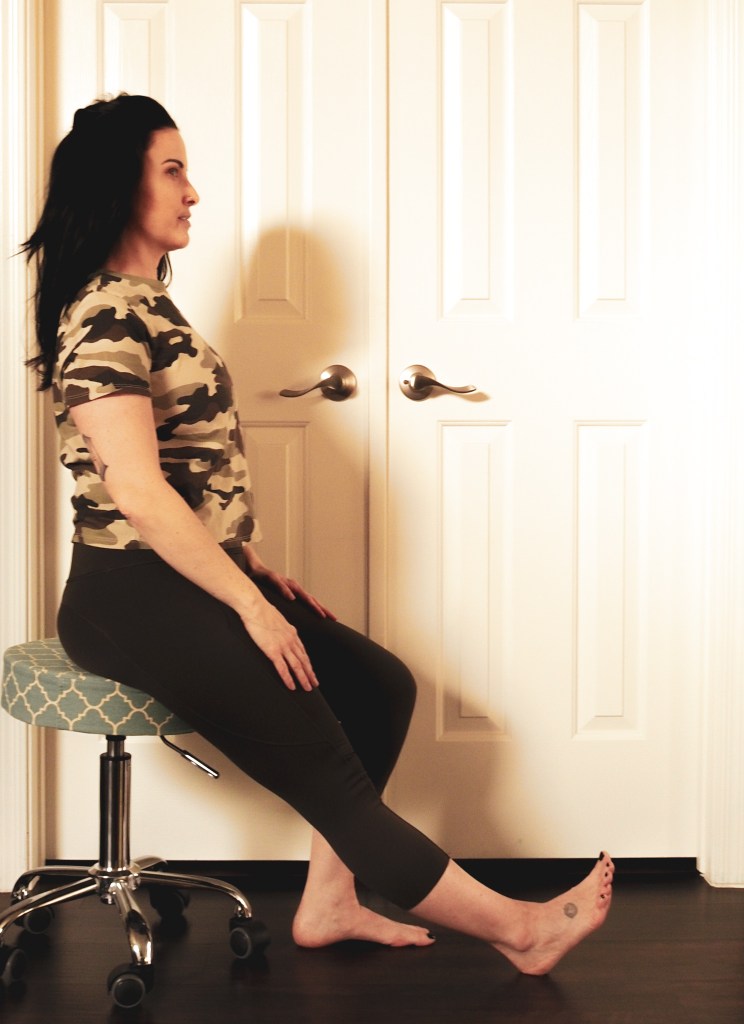
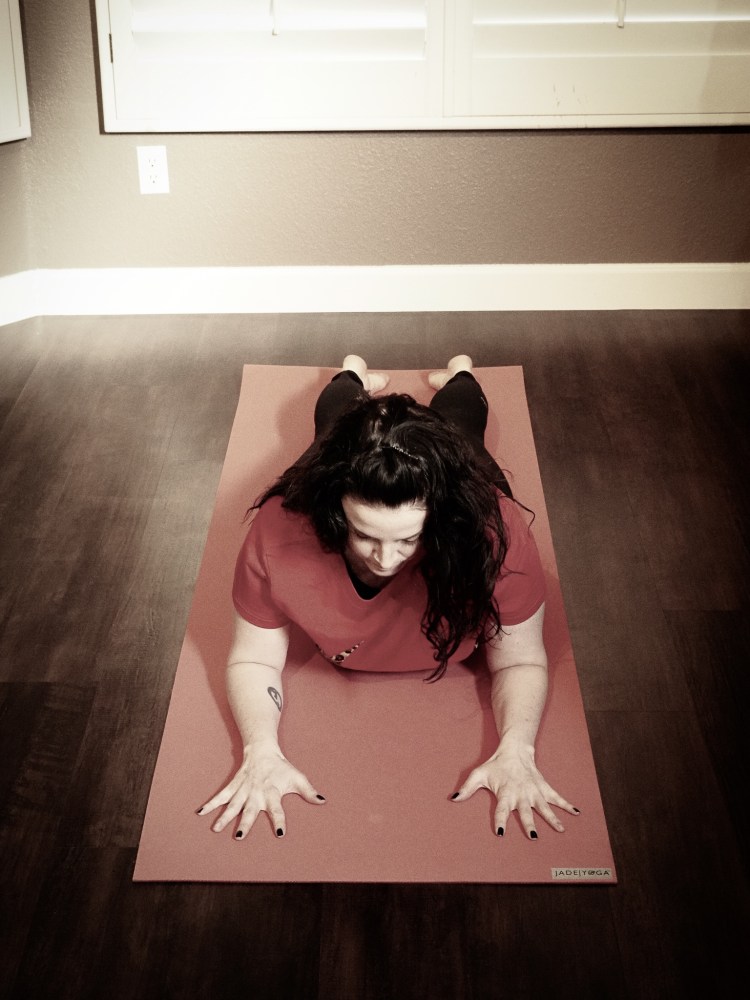
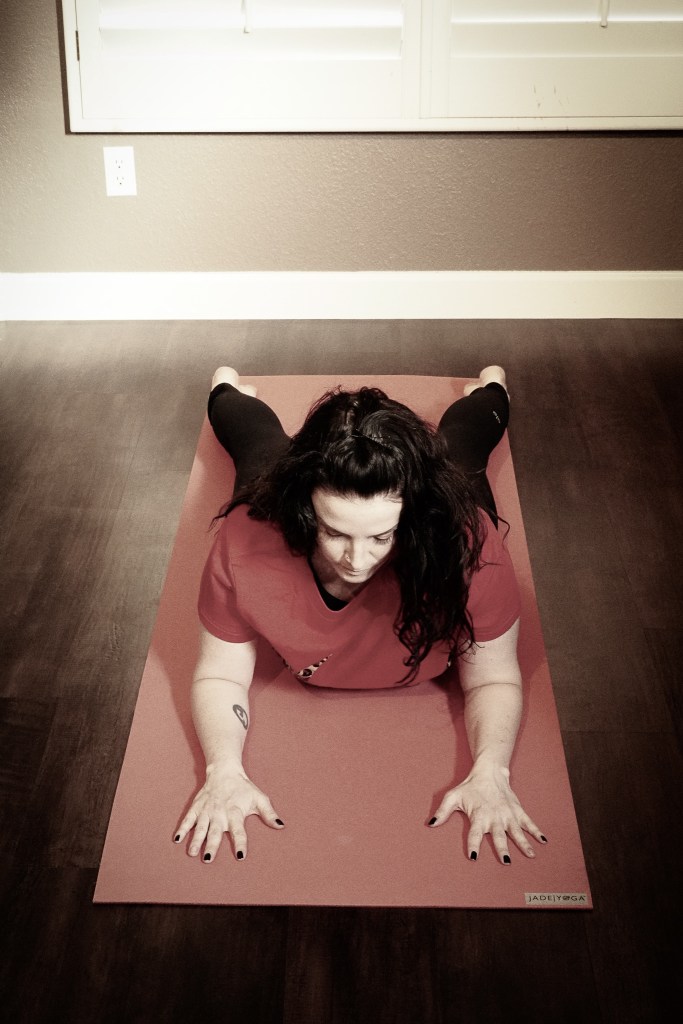
Half Lotus (Ardha Padmasana) is a more advanced yoga pose that should only be practiced by those with some yoga experience. Even if you are not ready for this pose, it is a great goal to work toward.
- Sit on the ground with the legs extended out in front of you in Staff Pose (Dandasana).
- Sit up nice and tall, letting the crown of the head press up toward the ceiling.
- Arms at your sides, shoulders relaxed and away from the ears (Image 8).
- Bend the right leg, placing the right ankle on your left thigh, bringing it as close to the crease of your leg as comfortable (Image 9).
- Bend the left leg and tuck the left foot under your right knee (Image 10).
- After staying in this pose for 5 to 10 breaths, slowly extend the right leg out in front of you followed by the left leg.
- Switch sides so that your left leg is on top of your right thigh and stay here for 5 to 10 breaths.
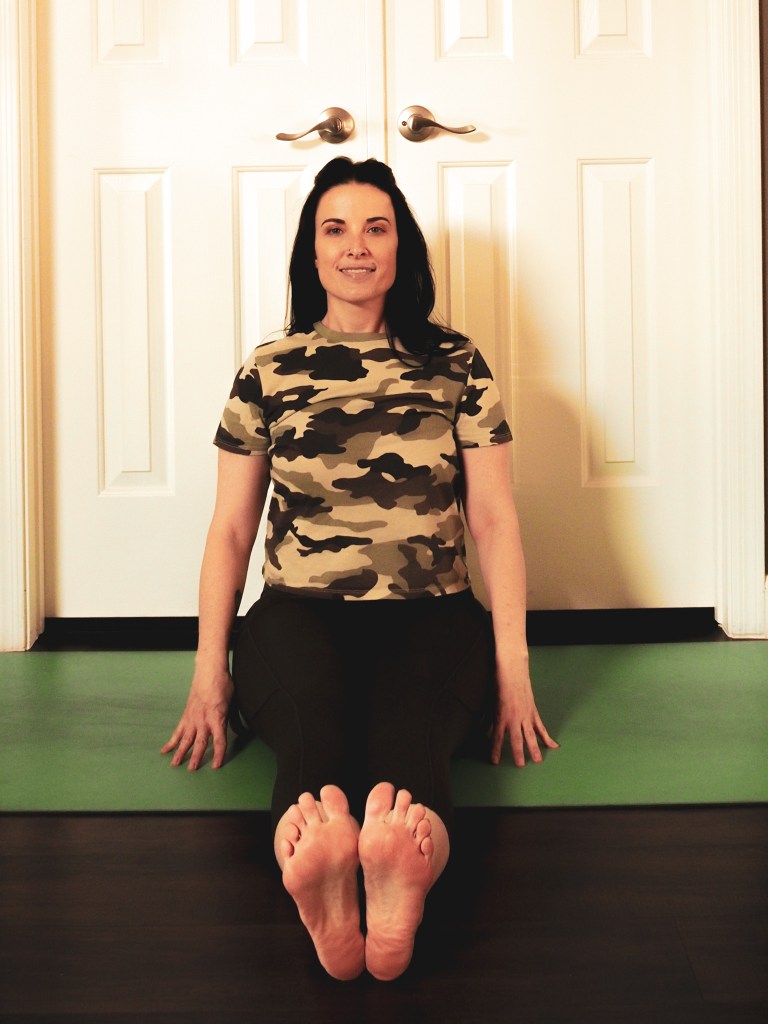
Image 8 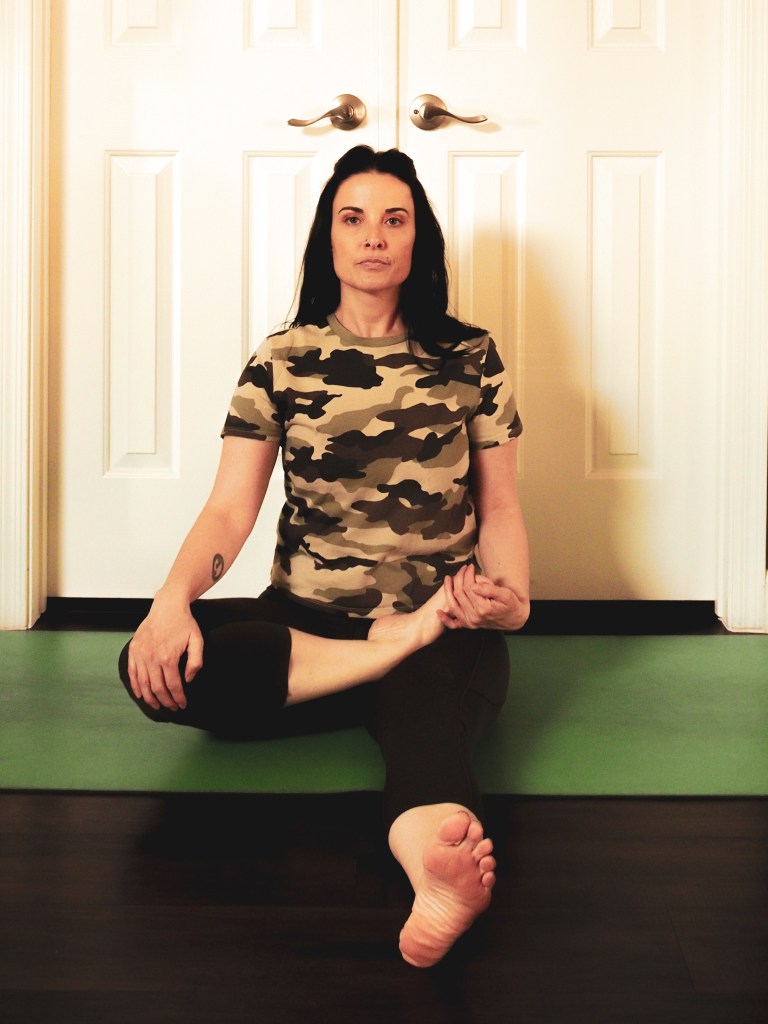
Image 9 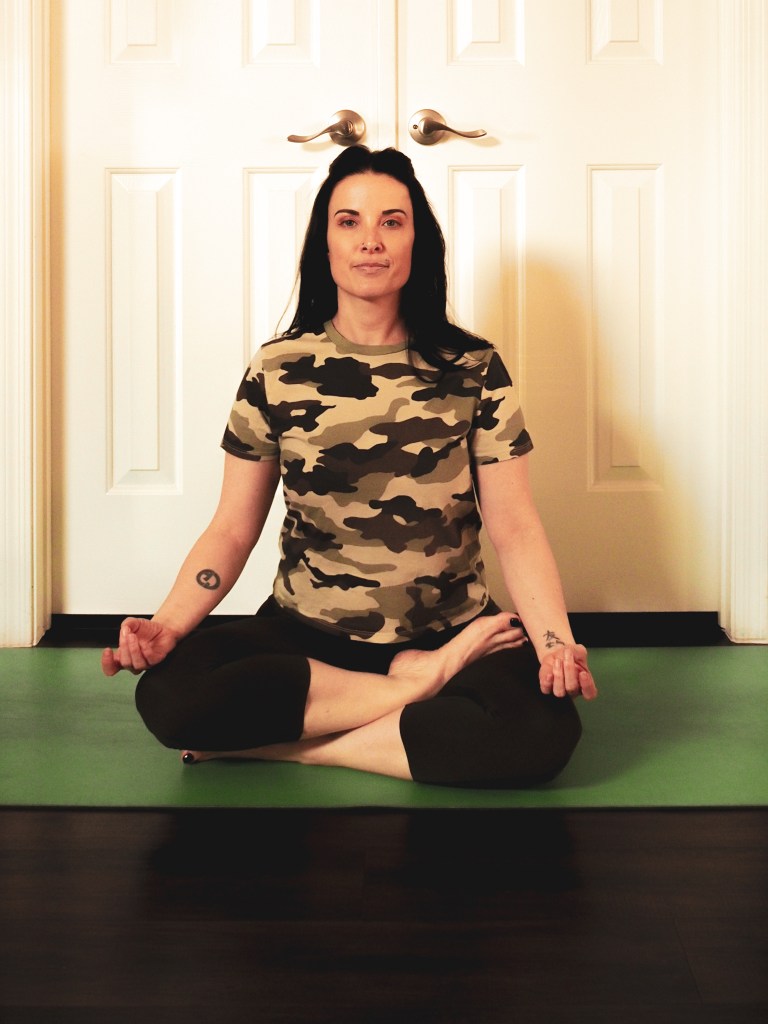
Image 10 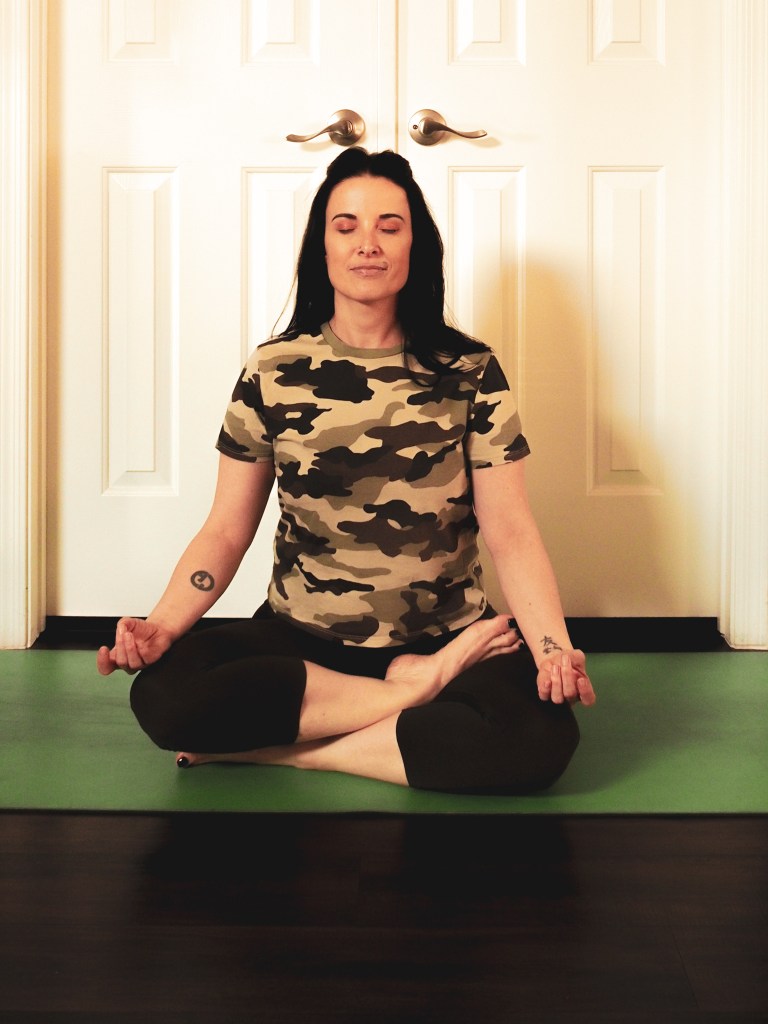
Image 11
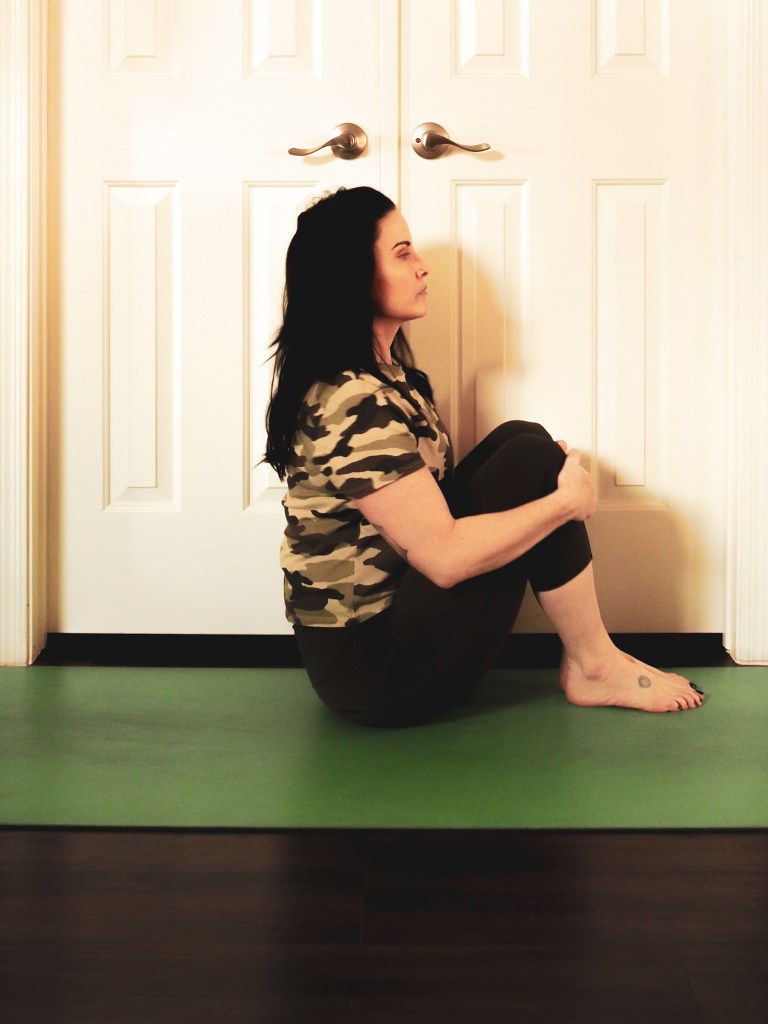
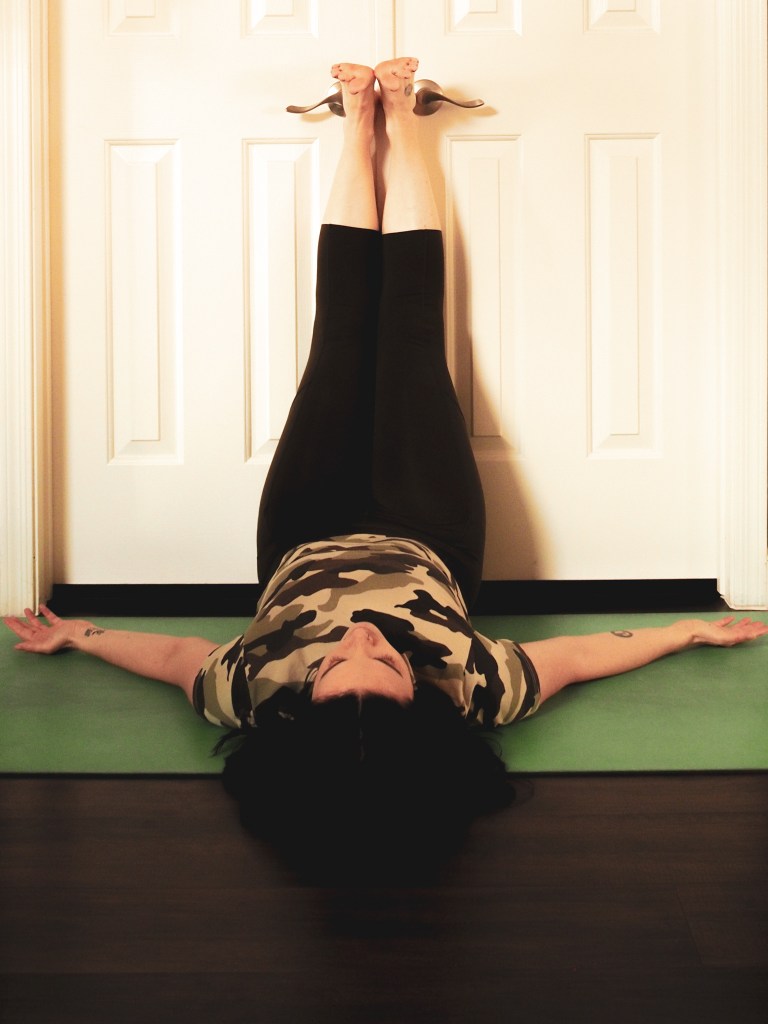
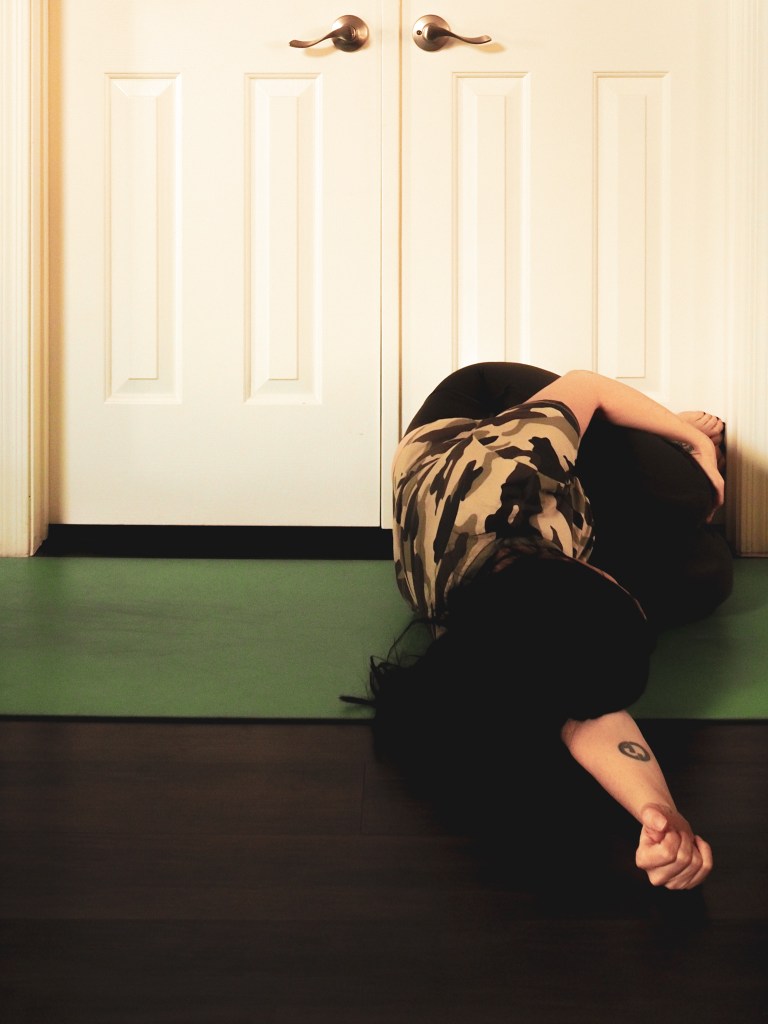
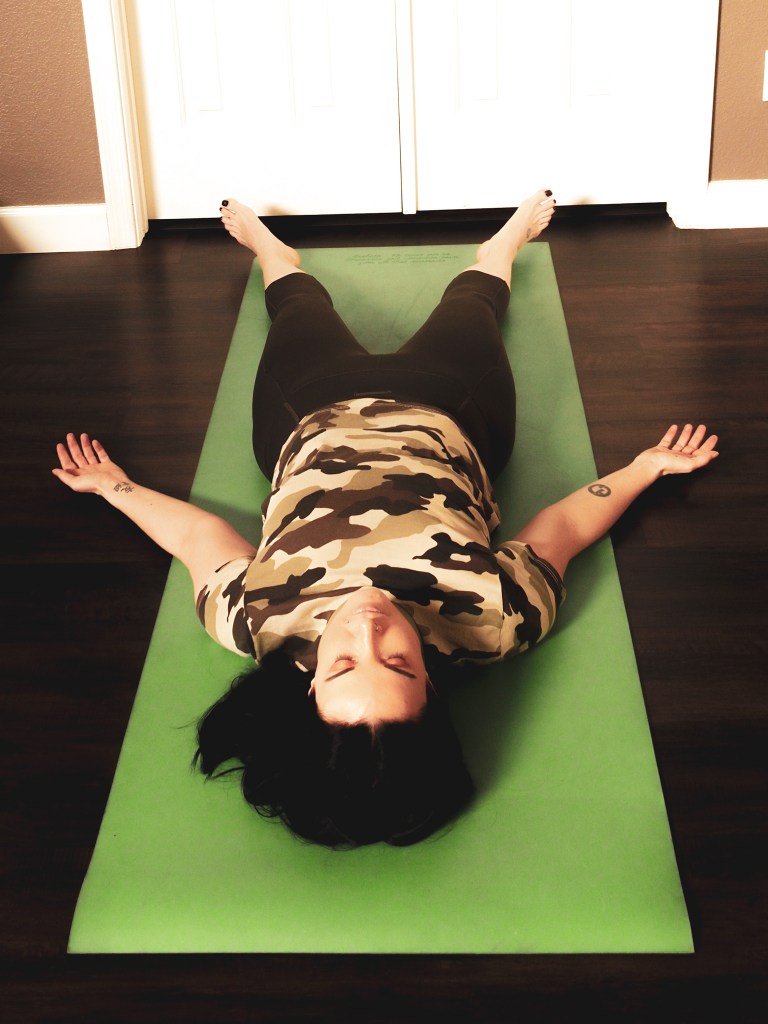
Corpse Pose (Savasana) – I’m not going to lie, when I meditate my favorite pose is savasana. I find that my mind wanders less if I’m not focusing on my back pain, feet falling asleep or butt cheeks tingling.
For additional cues for getting into Corpse Pose (Savasana) click here to see my blog about keeping calm.
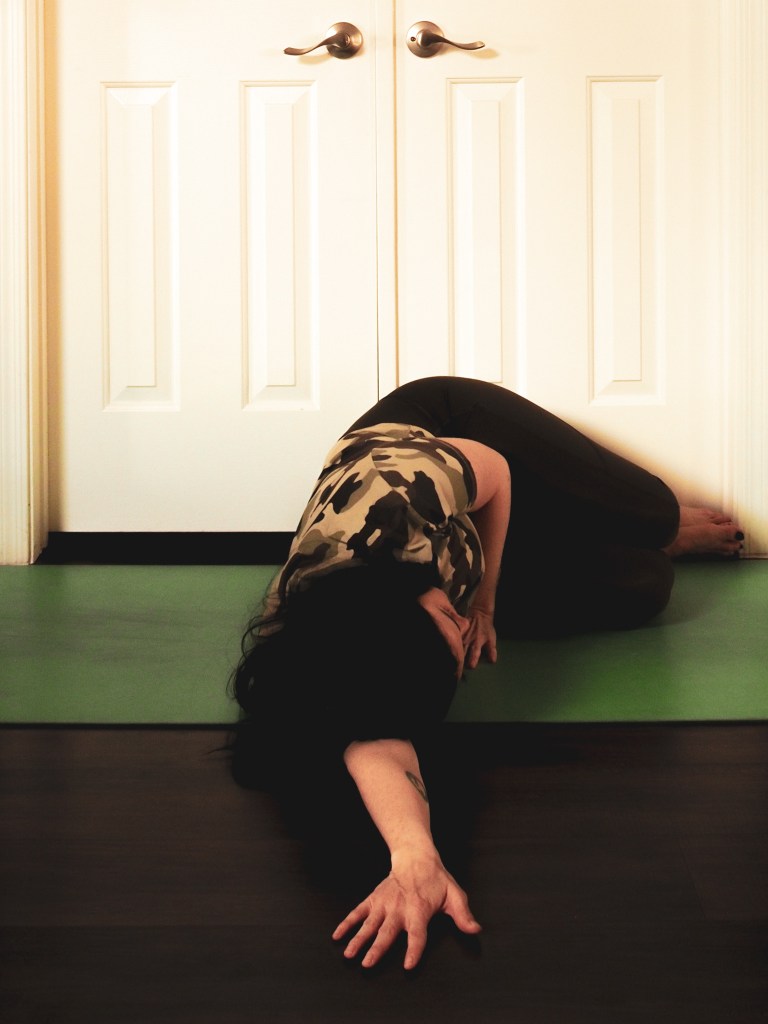
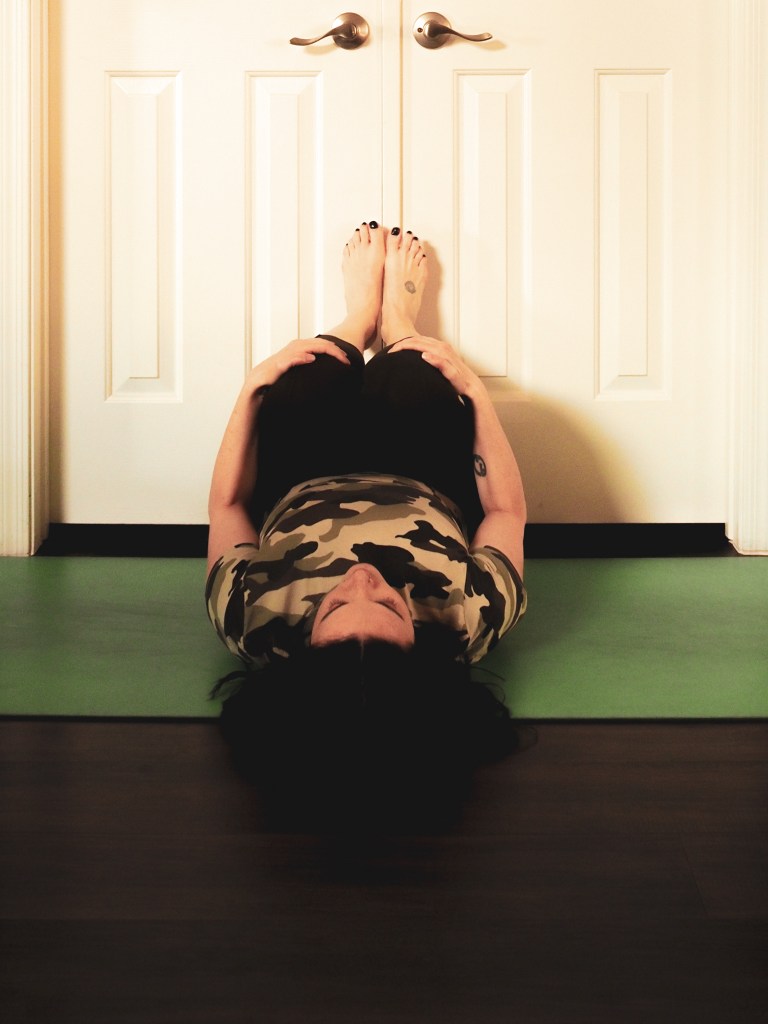
Corpse Pose is said to be one of the most difficult postures to master. It is far more than just a chance to relax after a rigorous class; it is a chance for us to practice a type of conscious dying, a letting go of the things that no longer serve us. Savasana symbolizes not only the death of our physical practice, but the release of the tension in our bodies and the clutter in our mind which cause us anxiety and stress. As we allow our bodies and minds to relinquish any attachment that we may have to our problems, our self-doubt, our worldly possessions, we go through a process very similar to the one that we will all face when we die. This letting go in savasana allows us to release our preconceived notions of who we think we are or should be and enables us to focus on our core selves, our soul, which will live on long after our physical bodies are gone. In corpse pose we surrender, not only to death but to the unknown and to the changes we need to make in our lives. It allows us to release and prepare for our rebirth.
After emerging from savasana, it is common to roll onto our right side coming into the fetal position. Much like corpse pose signifies death, the fetal position takes us back to our bodies at the time of our birth symbolizing our resurgence. The fetal position is our reminder that each day is a blank page where we are free to start living the life we’ve always wanted. The past no longer exists and the future is never promised. The only thing that is real is this moment right here, right now. I challenge you to make this day count. Make today the best day it can be filled with new beginnings and happy endings.
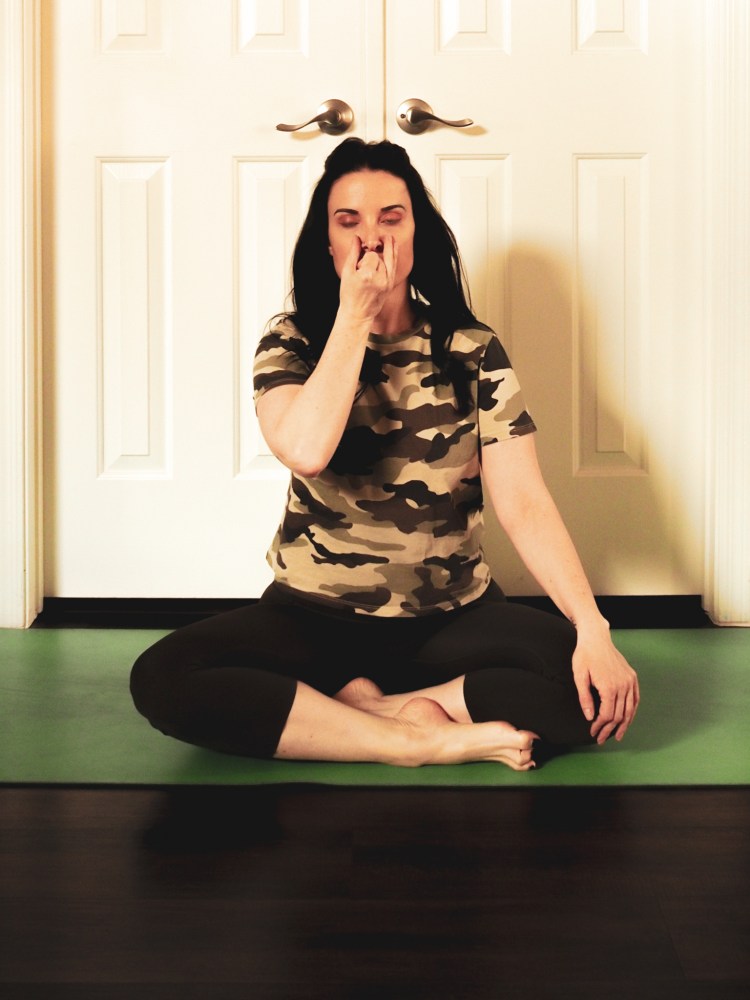
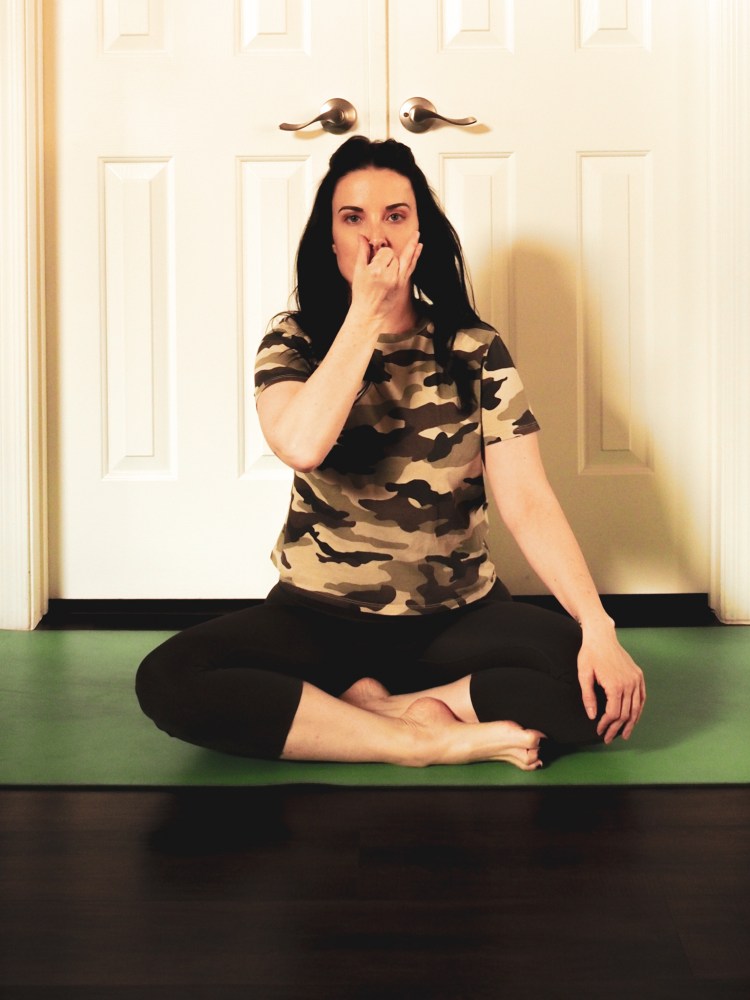
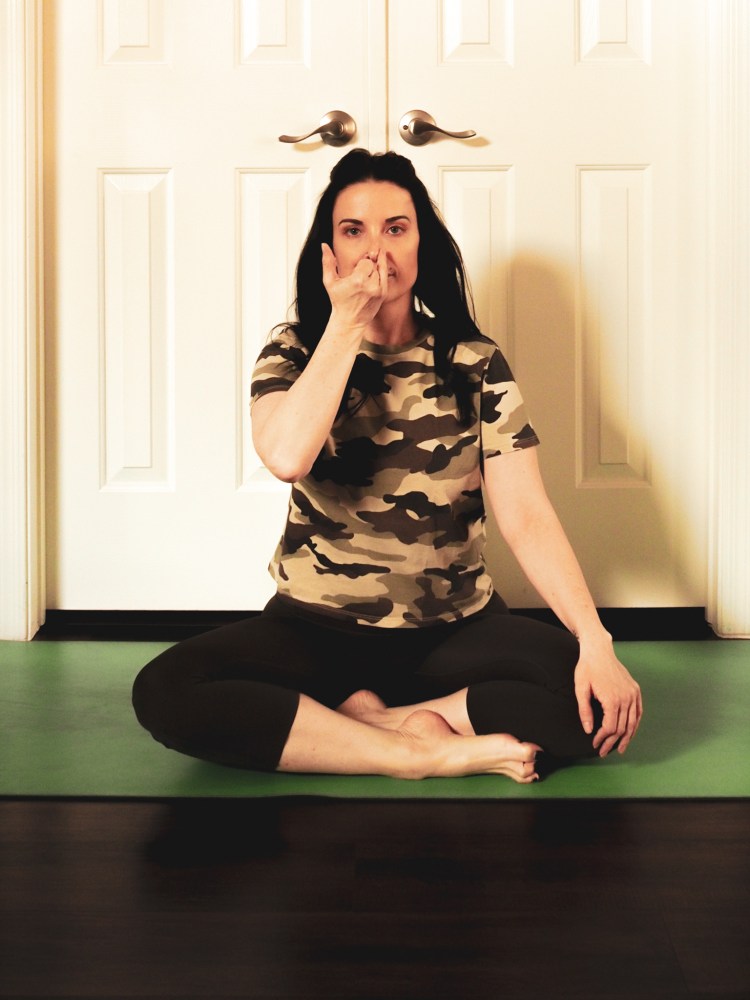
Pranayama
This one is not necessarily a type of breath, but rather a little trick that I learned from the meditation book I mentioned above. For me, keeping my monkey mind from wandering is hard work. Once you are settled into the meditation pose that works best for you, you will close your eyes and start to focus on the breath. Start with one deep inhale through the nose, open up the mouth and sigh out the breath completely. Imagine you are on a swing. As you inhale, the swing is swinging forward. You are extending your legs out in front of you, leaning back and smiling big. As you exhale, envision the swing swinging back. You are bending your knees, pressing your chest toward the sky. Continue to imagine this image along with your breath for the duration of your meditation. If your mind starts to wander, acknowledge the thought and bring your focus back on the breath and back to your swing.
Meditation
If your are still finding it difficult to meditate, try a guided meditation. You can look for guided meditations offered in your area, many of them will be at yoga studios or a meditation center (yes, this is a real thing). You can also find audio recordings on your computer or phone so you can meditate in the comfort of your own home, favorite park or special place. Lizzo recorded a mass guided meditation that she shared on Instagram to help people calm down during the Coronavirus. Click here to listen to her beautiful gift to the world.
Click here for some guided meditations offered around Las Vegas (scroll down to All Results not the Sponsored Results).